Front Office
The first step in the workflow is getting a patient scheduled for an exam. Each patient appointment is assigned an Appointment Number or Accession Number. This number is necessary for tracking each specific exam that is completed and is a key to the proper storage and retrieval of images from the PACS.

Scheduling a Patient Appointments
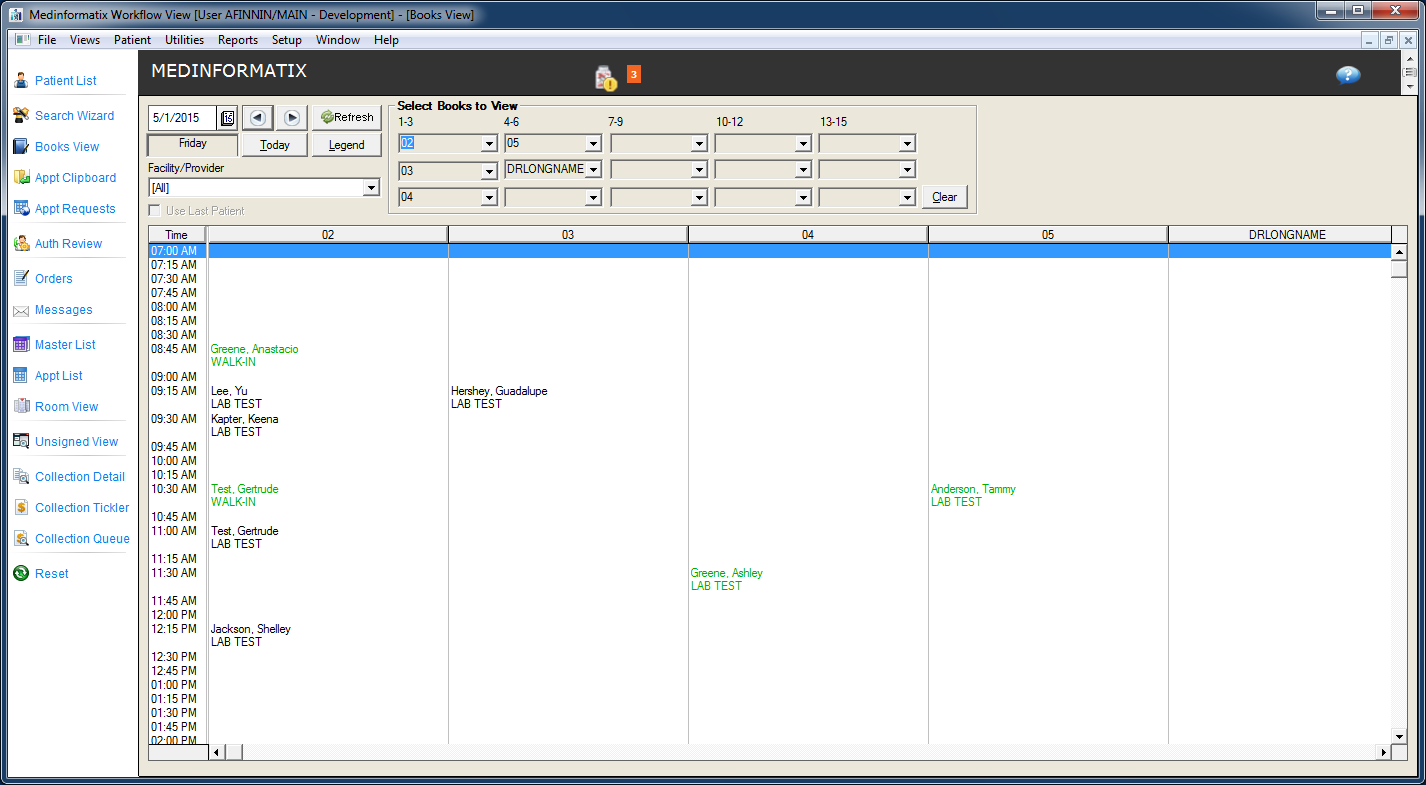
- Appointments are typically scheduled via the Books View by a scheduler on the telephone with the referring provider’s office. Appointments can also be scheduled using the Appointment Search Wizard.
- If the patient is new to the center, the scheduler usually obtains the minimal information to get the account created and scheduled. Detailed demographic and insurance information is most often gathered later via a follow-up call or at the time of the appointment.
- When a new appointment is scheduled, the system can be setup to automatically launch into the Scheduling and Registration Decision Tree so that the front office staff member can recite exam preparation steps, send insurance verification orders, complete screening forms, and make clinical notes. The system can also be configured to automatically send orders when a new appointment is saved.
Complete Registration / Authorization Review
Prior to the patient’s arrival, designated staff usually attempt to obtain insurance information from the patient and to secure an authorization for the procedure from the patient’s insurance company, if one was not obtained by the referring physician.
Designated staff members can work from the Orders List for appointments that need authorization or additional information.
After the order is completed, the it should be marked as Done by the user. +
Patient's Arrival
Upon arrival, the front desk staff will typically use four features of the MedInformatix workflow, which can be performed in either the Master List screen or the Appt List screen.
- First, the appointment will be confirmed against the referral script and any appointment notes will be reviewed.
- Second, the patient is presented with registration paperwork, privacy notes, and any other relevant exam screening forms.
- Third, the Front Desk scans the exam prescription/order/referral, insurance card(s) and driver’s license into the patient’s chart via the Scanning branch in the decision tree.
- Finally, the patient will be “Tagged” as having arrived for the appointment and ready for service in the Master List screen.
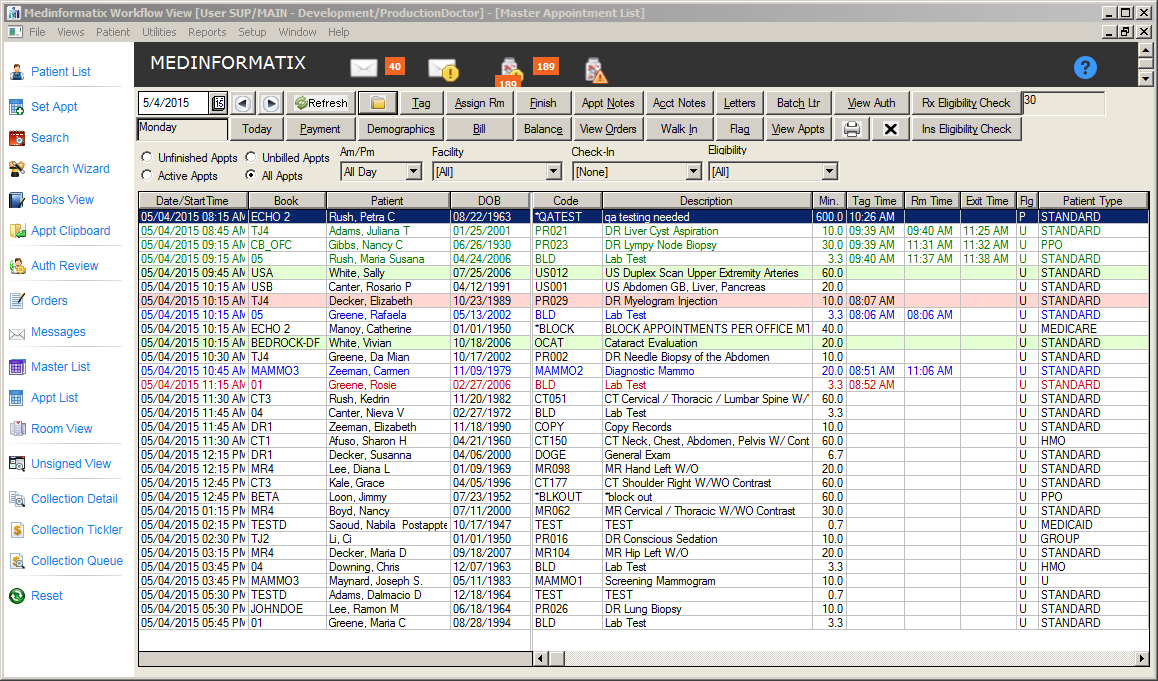
Appointment Color Codes |
|
Color |
Explanation |
Black |
The appointment has an ‘Unknown’ status; the patient has not arrived for the appointment. |
Red |
The appointment has been tagged as ‘Ready for Service’.* |
Green |
The appointment has been marked as ‘Finished/Finalized’. |
Blue |
The appointment has been assigned to a room. |
Highlighted Green |
The appointment has been tagged as ‘Arrived’ but has not been tagged as ‘Ready for Service’ |
Highlighted Pink |
The appointment has been tagged as ‘Ready for Service’ but has not been assigned to a room in a specified amount of time. |
*Flagged exams are also shown in Red when viewing all exams on the Master List.
Reviewing Appointment Notes
From the Workflow View screen, click either the Master Appointment List tab or the Appt List tab to display the appointments scheduled for today’s date.
Note: Appointments with notes include a plus ‘+’ sign in the Description column, positioned directly in front of the appointment description.
Choose the appropriate patient from the list and click the Appt Notes button.
Review the note and click the OK button.
Printing Patient Forms Using the Letter Printing Feature
At either the Master Appointment List or the Appt List screens, click the Letters button.
Select the appropriate form.
Click the Preview button, if necessary, to preview the letter prior to printing.
Click the Print button, which will launch the Print Setup screen.
Click the OK button to send the document to the printer.
To Tag A Patient As Arrived For An Appointment and Ready for Service
From the Workflow View screen, click the Master List tab to display the appointments scheduled for today’s date.
Choose the appropriate patient and click the Tag button, which will launch the Tag Appointment screen.
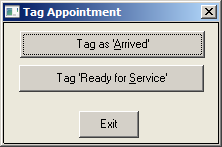
Click the Tag as ‘Arrived’ option so that the appointment is shaded in green and the Arrive Time column is populated with the arrival time.
When the patient is ready to be seen, click the Tag button again.
Click the Tag ‘Ready for Service’ option so that the arrival time is displayed in that patient’s Tag Time column and the item is displayed in red.
To Reverse A Tag (If A Patient Was Tagged Incorrectly)
From the Workflow View screen, click the Master List tab to display the appointments scheduled for today’s date.
Choose the appropriate patient and click the Tag button, which will launch the Reverse Tag Appointment screen.
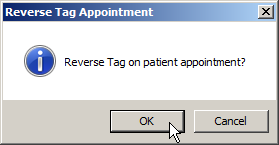
Click the OK button to allow the arrival time to be removed in the Tag Time column.
To Scan A Document Into A Patient’s Chart
While in the Master Appointment List screen, locate the appropriate appointment for the patient.
Click the patient’s name so that it is highlighted.
Click the Chart button or double-click the patient name to enter into the Decision Tree screen.
Click the Scan Documents branch to launch the Scan Document Decision Tree and click the branch corresponding to the type of document to be scanned.
Place the document to be scanned in the scanner attached to the computer that the user is currently working on.
Verifying the scanner settings (b/w, two sided, etc.) and click OK.
Click the Exit button on the left side of the Decision Tree screen to return to the Master Appointment List screen.