Vital Signs
A patient’s vital signs, consisting of height, weight, temperature, blood pressure, pulse rate, respiration, glucose level, head circumference, oxygen saturation and waist circumference can be recorded on the Vital Signs screen. Preferred units of measurement can be selected by the user. Body Mass Index (BMI) is calculated automatically.
Each Vital Signs screen is automatically tagged by the date and time the readings were taken.
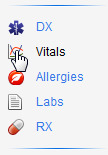
Click the Vitals button on the Decision Tree menu bar to open the Vital Signs screen.
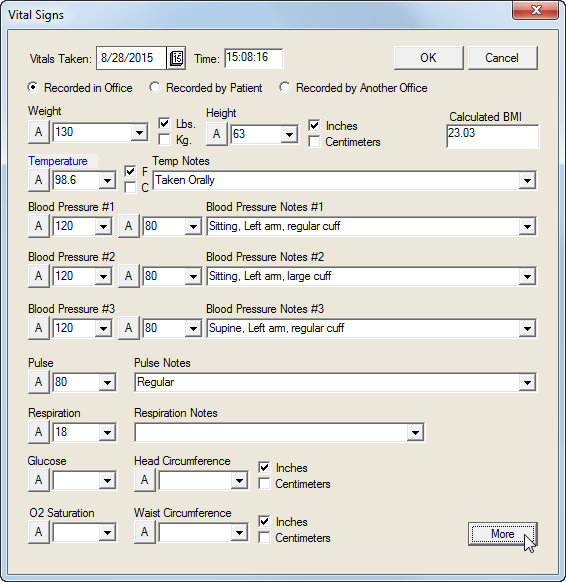
Verify the Vitals Taken date and Time are current. Change the date by clicking the calendar icon. Change the time by deleting the entry in the Time field and entering the desired time.
Click one of the following buttons: Recorded in Office, Recorded by Patient, or Recorded by Another Office.
Enter Weight or choose reading from pulldown menu. Click either the Lbs or Kg checkboxes.
Enter Height or choose reading from pulldown menu. Click either the Inches or Centimeters checkboxs. BMI is calculated automatically
Record Temperature (defaults to normal). When values are entered in the appropriate field, the Temp Notes dropdown list becomes available. Select the appropriate note from the dropdown list.
Record Blood Pressure (3 readings) (defaults to normal). Select the appropriate note from the Blood Pressure Notes dropdown list.
Record Pulse and select Regular or Irregular from the Pulse Notes dropdown list.
Record Respiration value. Select the desired note from the Respiration Notes dropdown list.
Record Glucose.
Record Head Circumference. Click Inches or Centimeters
Enter O2 Saturation from the pulldown menu or enter value.
Record Waist Circumference. Click Inches or Centimeters.
Click the More button to open the Diagnostic Test Entry Result screen.
Select the test from the Diagnostic Test dropdown list and click the Observation Value button.
Enter the Value in the test screen or select Normal from the dropdown list.
Enter a comment in the Comment field if desired.
Select a value in the Abnormal field from the dropdown list.
Select a Source from the dropdown list.
Click the OK button to record the information in the patient chart.
Click the Exit button to return to the Vital Signs screen.
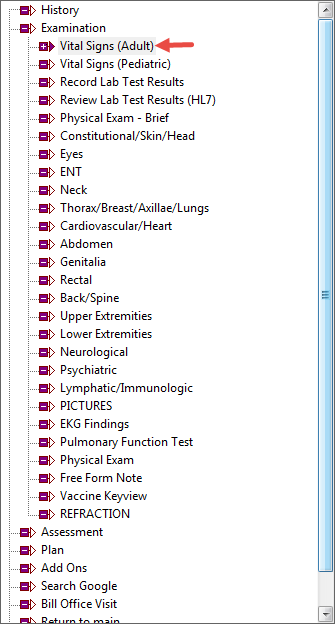
Click the More button at the lower right hand side of the screen to open the View Diagnostic Test Results screen (see the Lab Results topic for more information).
All the information entered into the Vitals screen are viewed in the Vital Signs History screen. This screen can be accessed in the Decision Tree under the Vital Signs (Adult) or Vitals History links. Where these links are located will depend upon how the Decision Tree is configured for a particular office.
Example:
Click the Vital Signs (Adult) or Vitals History link to open the Vital Signs History screen. This screen shows all the vital signs that have been taken for the particular patient.
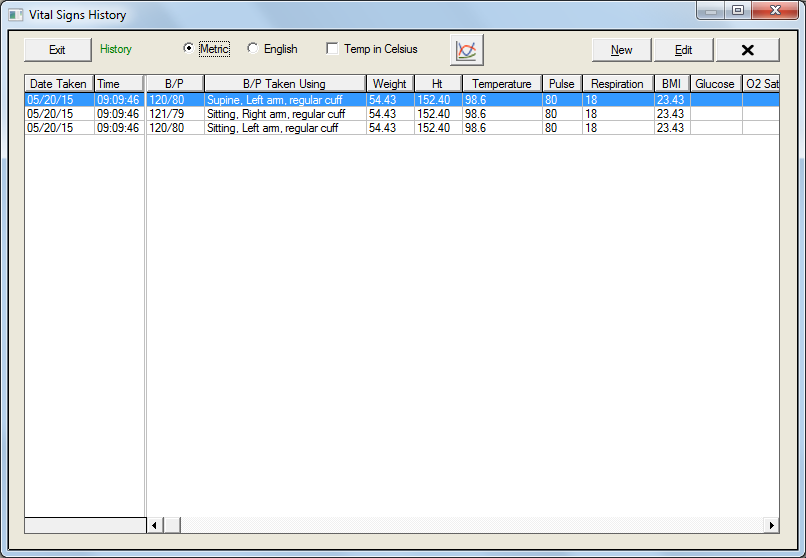
Click one of the following buttons to select units of measurement: Metric, English
Click the Temp in Celsius checkbox to display the patient’s temperature in degrees Celsius rather than Farenheit.
Click the Graph icon to open the graphing function.
Click the New button to open a blank Vital Signs screen to input new measurements.
Click the Edit button to open the Vital Signs screen displaying the selected data. It is only possible to edit an entry that was made on the same day.
Click the X button to delete an entry.