Lab Results
This tab allows the user to view the results of the diagnostic tests that have been recorded in a patient’s record either manually or via a 3rd party which are available for review.
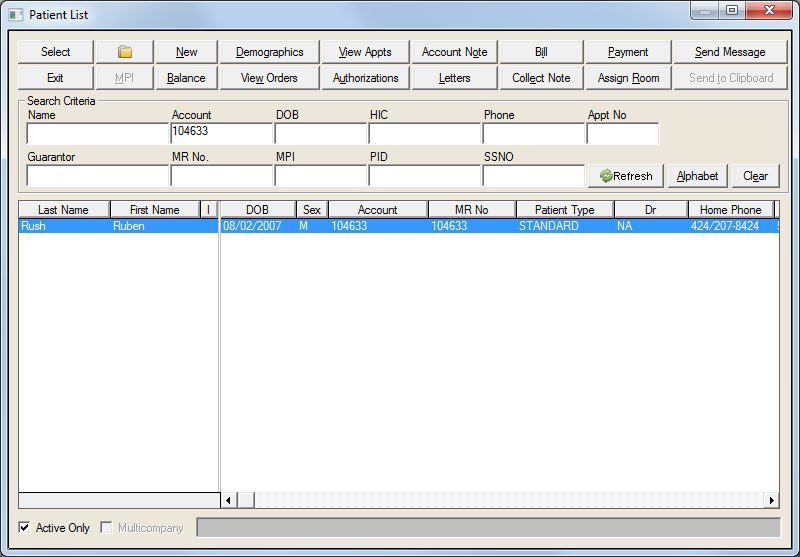
Select a patient name from the Patient List, the Master List or the Appointment List.
Click the Patient Chart button

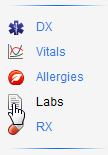
Click the Labs button on the Decision Tree menu bar.
This opens the View Diagnostic Test Results screen for the selected patient.
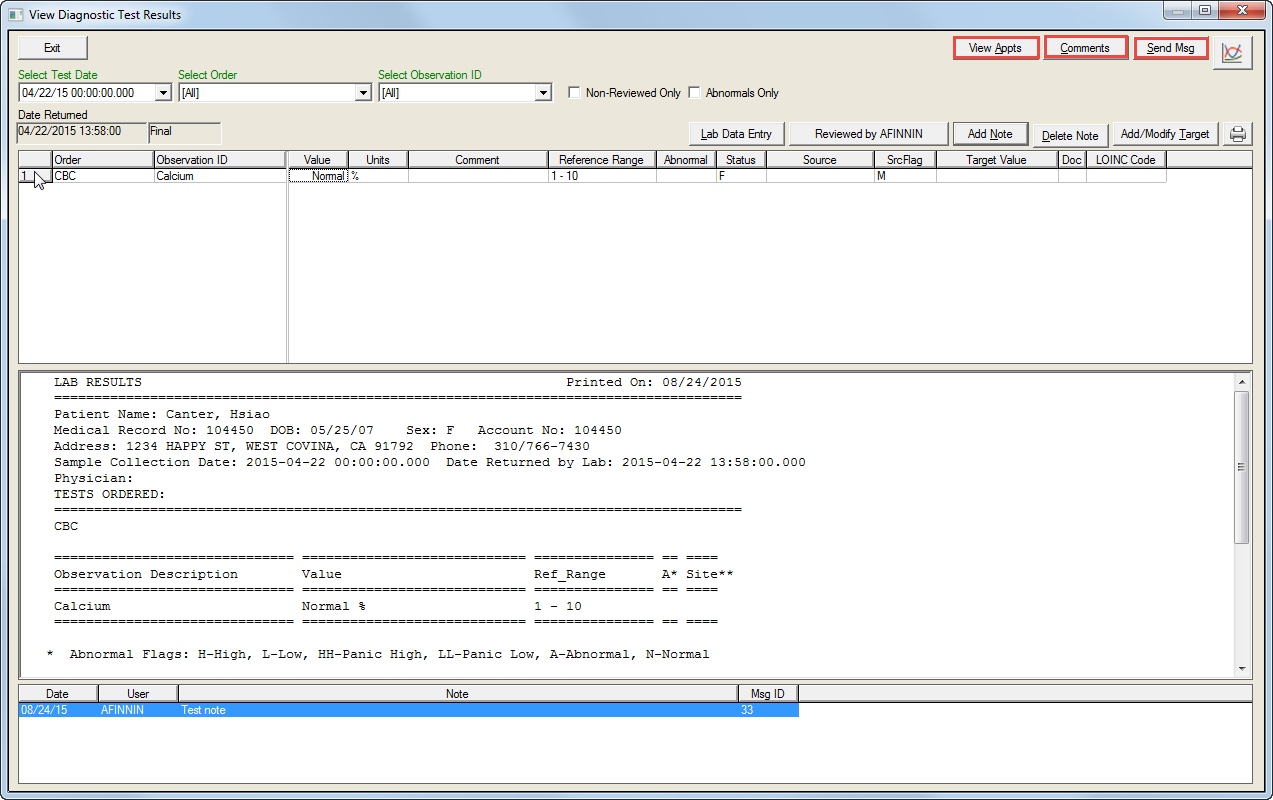
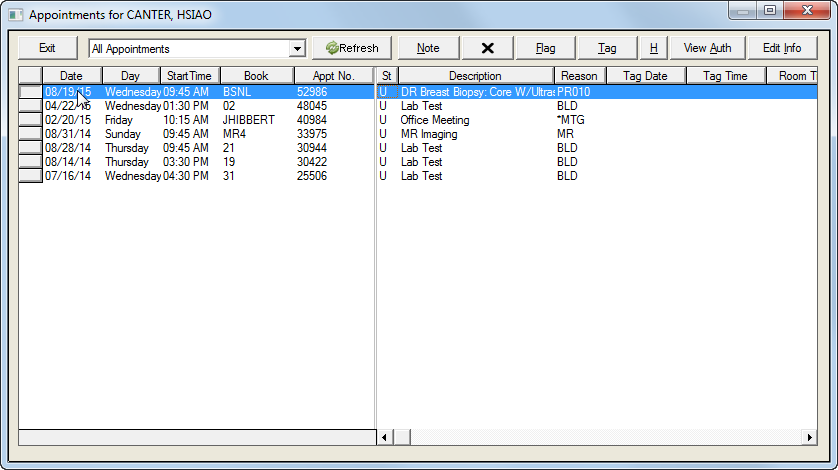
Click the View Appts button to open the Appointments for [Patient name] screen and select the desired appointment.
Click the Comments button to view any comments on the test results.
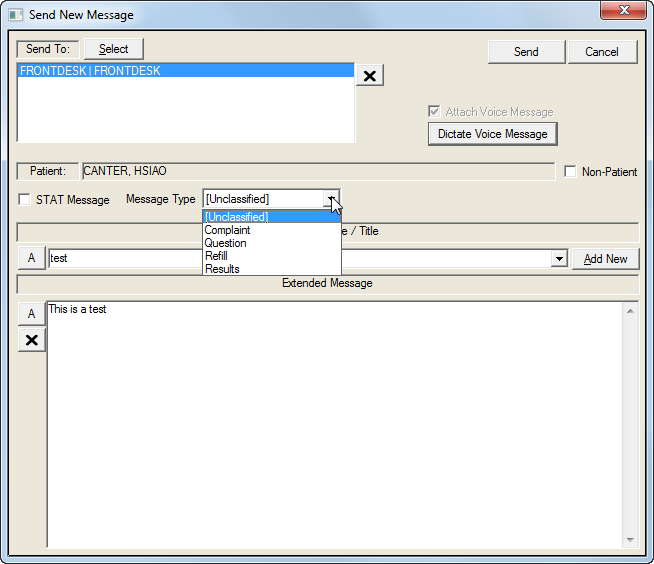
Click the Send Msg button to send a message regarding the patient.
Choose a test date from the Select Test Date dropdown list.
Choose an ordered test from the Select Order dropdown list.
Choose an observation from the Select Observation ID dropdown list.
Click the Non-Reviewed Only checkbox to view results that have not been previously reviewed.
Click the Abnormals Only checkbox to view results that fall outside the normal range. This screen can be blank if all results are within normal range.
Click the Lab Data Entry button to open the Diagnostic Test Result Entry screen.
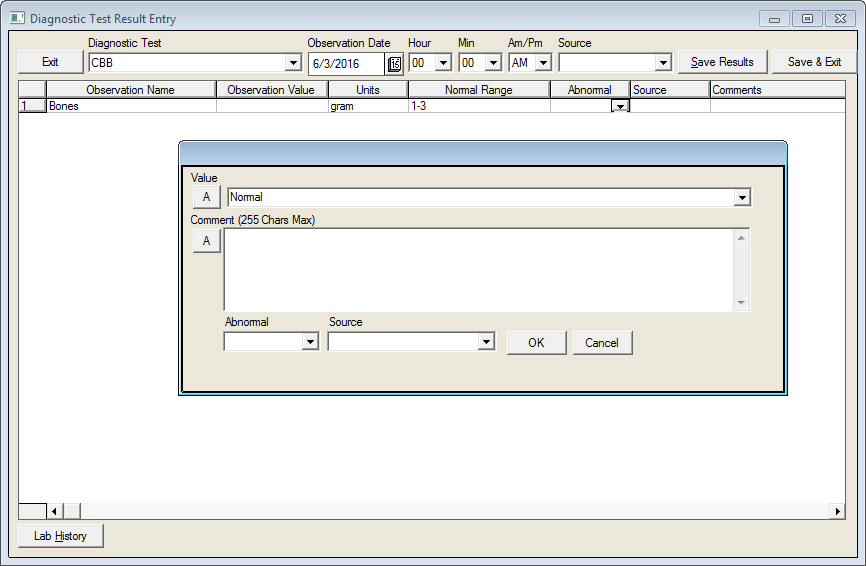
Click the Diagnostic Test dropdown to select the test.
Click the Observation Value field to open the value entry screen for the selected test.
Enter the observed value or select the value from the Value field pulldown list.
Enter any desired text in the Comments field.
Select a value from the Abnormal pulldown list.
Select the Source from the pulldown list.
Click the OK button to return to the Diagnostic Test Result entry field.
Click either the Save Result or the Save and Exit buttons to return to the View Diagnostic Test Results screen.
Click the Reviewed by [User Name] button to display the results reviewed by the user.
Click the Add Note button to open the Add Test Note screen. This note is attached to the lab results record and may be printed out if desired.
Click the Delete Note button to delete the test note. Only the original message creator can delete the note and only on the same date that the note was created.
Click the Add/Modify Target button to change the target value of the test.
Enter the new value in the Target Value field.
Click the X button to delete, the Save button to save the entry or the Cancel button to exit the screen.