Color Legends
The available appointments for each appointment group or location can be color coded so that only certain kinds of appointments (e.g. emergencies) can be scheduled for the highlighted appointment times. The colors and their meanings can be set as follows:
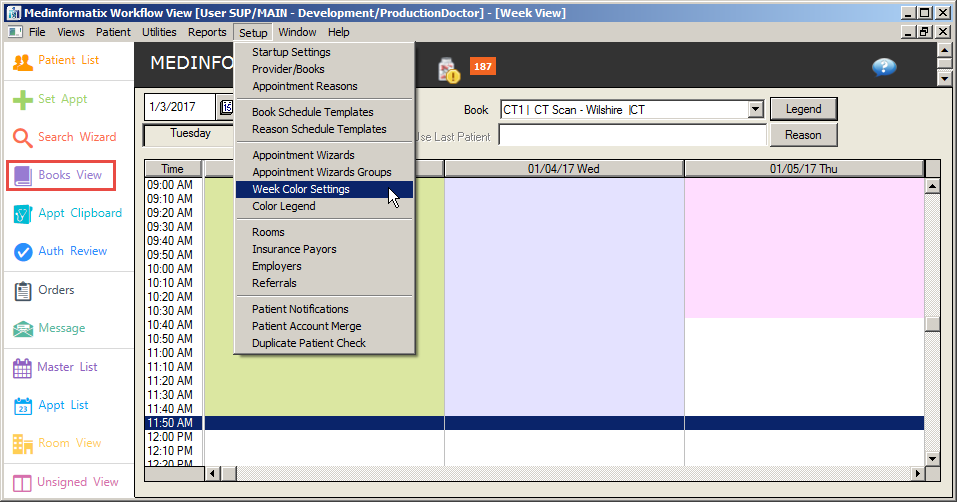
Select Books View from the Workflow View menu.
Click the Setup tab from the top of the screen.
Select Week Color Settings to open the Week Color Key screen.
Select a Book/Provider from the dropdown list.
Highlight the desired days and times.
Click the button next to the desired color.
Click the Set button to assign the color to the selected appointments.
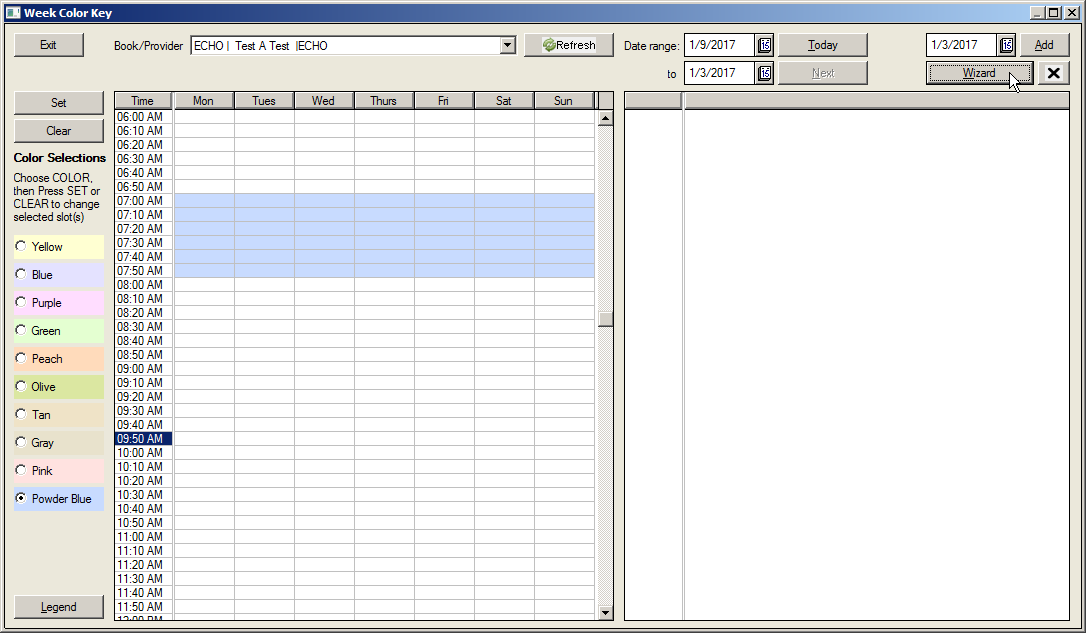
Click the Legend button located a the bottom left hand side of the screen to set the meanings for the colors.
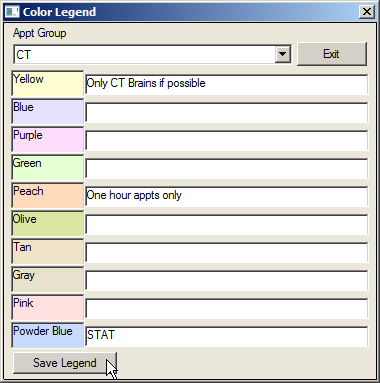
Select the Appt Group from the dropdown list.
Enter the meanings for the desired colors in the color fields.
Click the Save Legend button to set the color meanings for that Appt Group.
Click the Exit button to return to the Week Color Key screen.
Click the Wizard button to open the Recurring Color Settings Wizard for the selected book.
Click the desired color button in the Color Key section.
Click the Set button to set the color.
Select the desired times from the Time field.
Select the desired date interval in the Date Options section.
Select the Start Date and the End Date from the calendar icons in the Duration section. These settings will appear in the Current Selection section.
Click the Delete existing items in duration checkbox to clear the start date and end date settings.
Click the Delete existing items in date selection. Otherwise they will be merged. checkbox to clear the selections in the Date Options fields before they take effect.
Click the Ok button to save the settings and exit the screen.
