Managing The Master List View Options
When the patient arrives for the appointment, the front desk staff will typically use four features of the MedInformatix Tracking system, which can be performed in either the Master Appointment List View or the Appt List View.
![]() Medinformatix can be custom configured so that the Master Appointment List screen automatically opens upon Login.
Medinformatix can be custom configured so that the Master Appointment List screen automatically opens upon Login.
Click the Workflow Views link on the main Medinformatix screen..
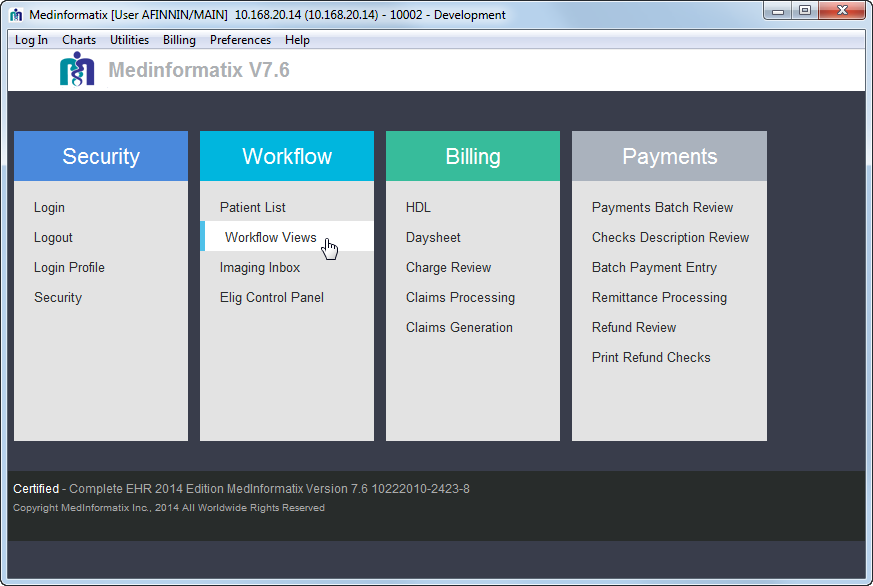
Click the Master List button from the menu on the left side of the Workflow Views screen to open the Master List screen.

.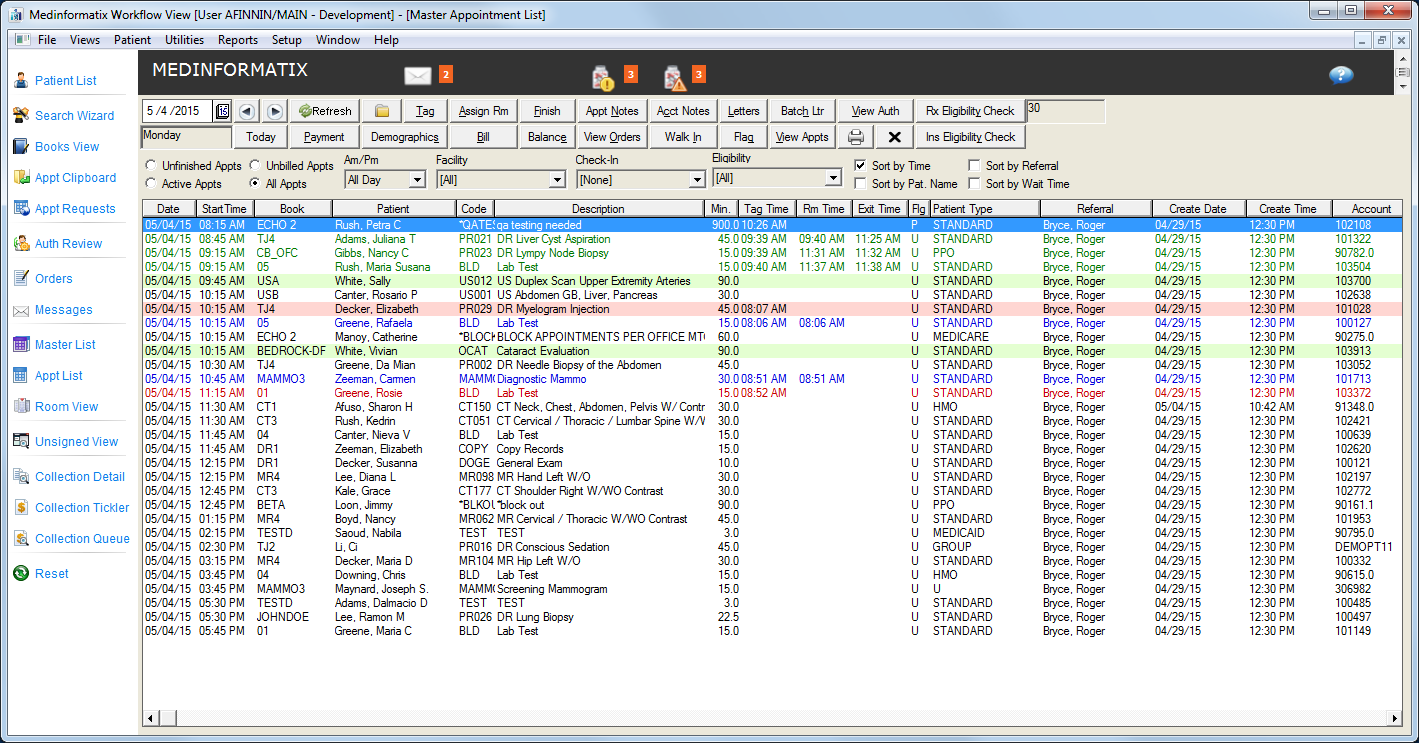
The explanations for the color coding is listed in the table below.
|
Color |
Explanation |
|
Black |
The appointment has an ‘Unknown’ status; the patient has not arrived for the appointment. |
|
Red |
The appointment has been tagged as 'Ready for Service.' |
|
Green |
The appointment has been marked as ‘Finished’. |
|
Blue |
The appointment has been assigned to a room. |
|
Highlighted Green |
The appointment has been tagged as 'Arrived' but has not been tagged as 'Ready for Service'. |
|
Highlighted Pink |
The appointment has been tagged as ‘Ready for Service’ but has not been assigned to a room in over 60 minutes. |
Click on the patient information listed on the screen in order to highlight it.
Select an action by clicking one of the buttons across the top of the Master List View window:
-
Move and rest your mouse pointer over various parts of the screen image below to display tips and important information about that area/button
