Add a Prescription
The Rx button on the Decision Tree screen allows a user to access a list of all the patient's medications including all possible drug interactions.
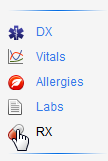
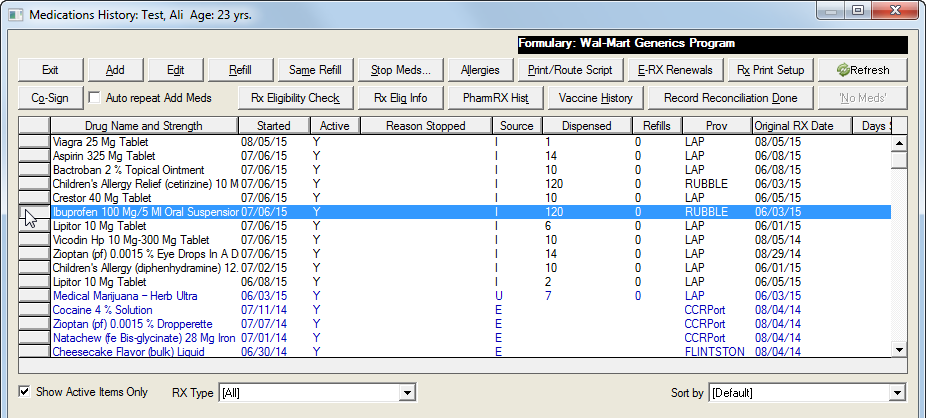
Click the Rx button to open the Medications History screen.
![]()
Click the Add button to access the Add Medications screen.
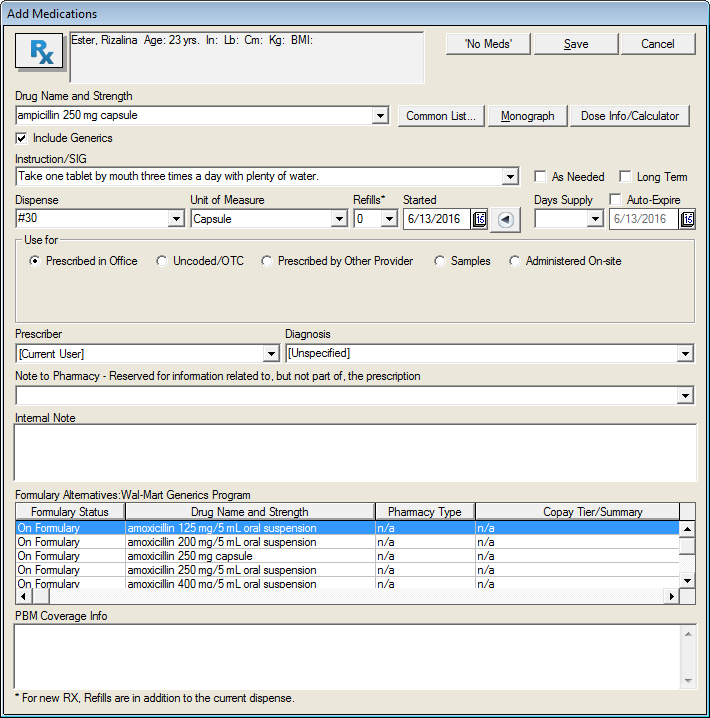
Enter the drug name in the Drug Name and Strength field or enter at least the first three letters of the name.
Click the pulldown list and select the desired drug along with one of the available strengths.
Click the Include Generics checkbox to list the generic versions along with the brand names.
Select the appropriate entry in the Instruction/SIG field from the pulldown list.
Click the Dispense, Unit of Measure, Refills and Days Supply fields. Click the pulldown lists and select the appropriate values.
Select the start date in the Started field.
Click the Auto-Expire checkbox or enter the expiration date in the field below it. This optional step will help clear the database.
Click one of the following radio buttons in the Use for section: Prescribed in Office, Uncoded/OTC, Prescribed by Other Provider, Samples, Administered On-site. Some buttons will open a field requesting more information. Enter as much information as possible in the fields which appear.
Select the Prescriber and Diagnosis from the pulldown lists. Some states require this information.
Enter relevant information in the Note to Pharmacy and Internal Note text fields.
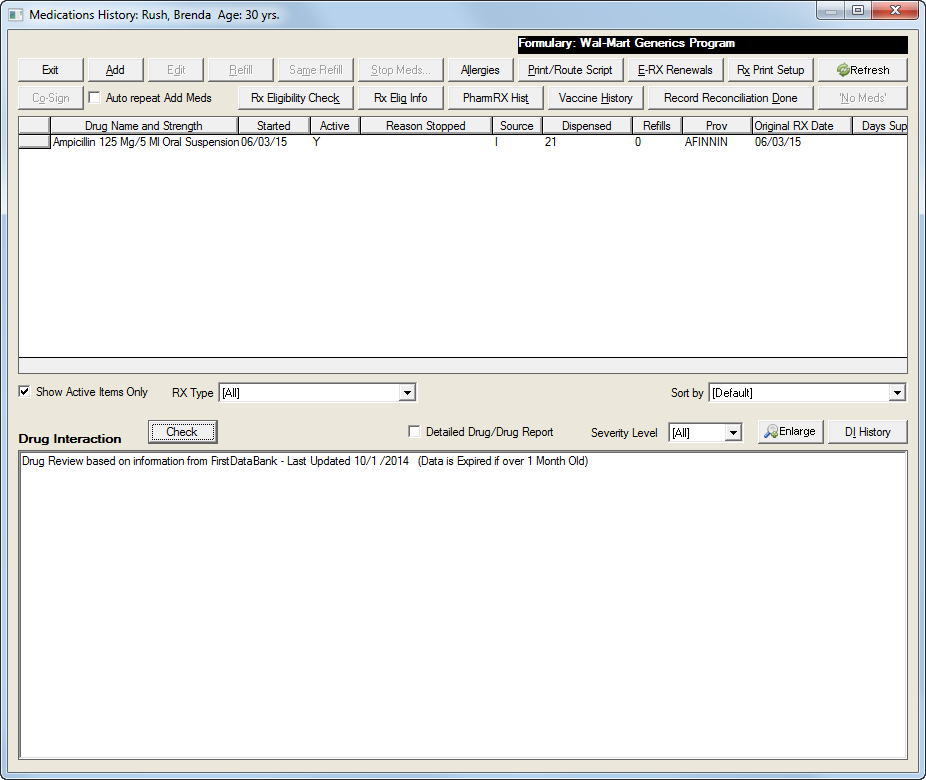
Click the Save button to save the addition and update the Medications History screen.
Click the Check button above the Drug Interaction field on the Medications History screen to view any drug interactions with the prescribed medication. The Drug Interaction function is performed automatically when the addition is saved.
To Edit an entry in the Medications History screen:
Click an entry under the Drug Name and Strength field on the Medications History screen to select it. This will activate the Edit function.
Click the Edit button to open the Add Medications screen. It is only possible to edit fields that are not greyed out.
Make the desired changes to any of the active (white) fields as described above.
Click the Save button to update the Medications History screen.
Click any of the buttons in the function bar on the Medications History screen.
Move and rest your mouse pointer over various parts of the screen image below to display tips and important information about that area/button