Access Patient Chart
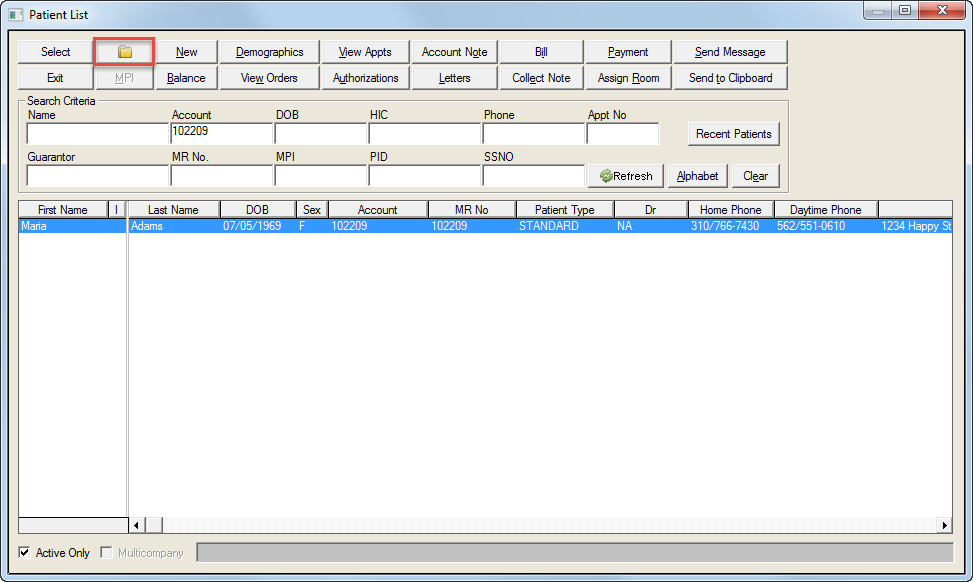
You can access a patient's demographic documents or Electronic Medical Records (EMR), stored in the Chart Repository, through the Decision Tree and Patient Care screen. This screen can be accessed from almost any other screen in the application – select the patient, then click the small “CHART” button:

 It is possible to access the patient's chart from any screen that has the Chart button.
For example, from the Patient List screen:
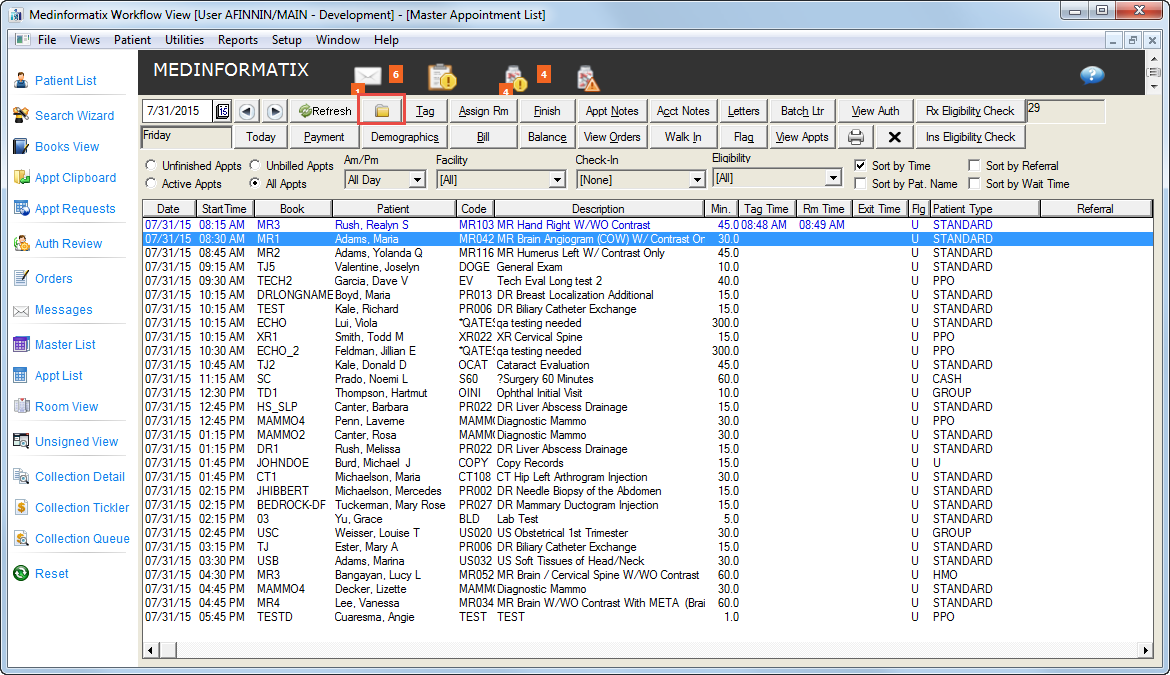
Or in the Master List:
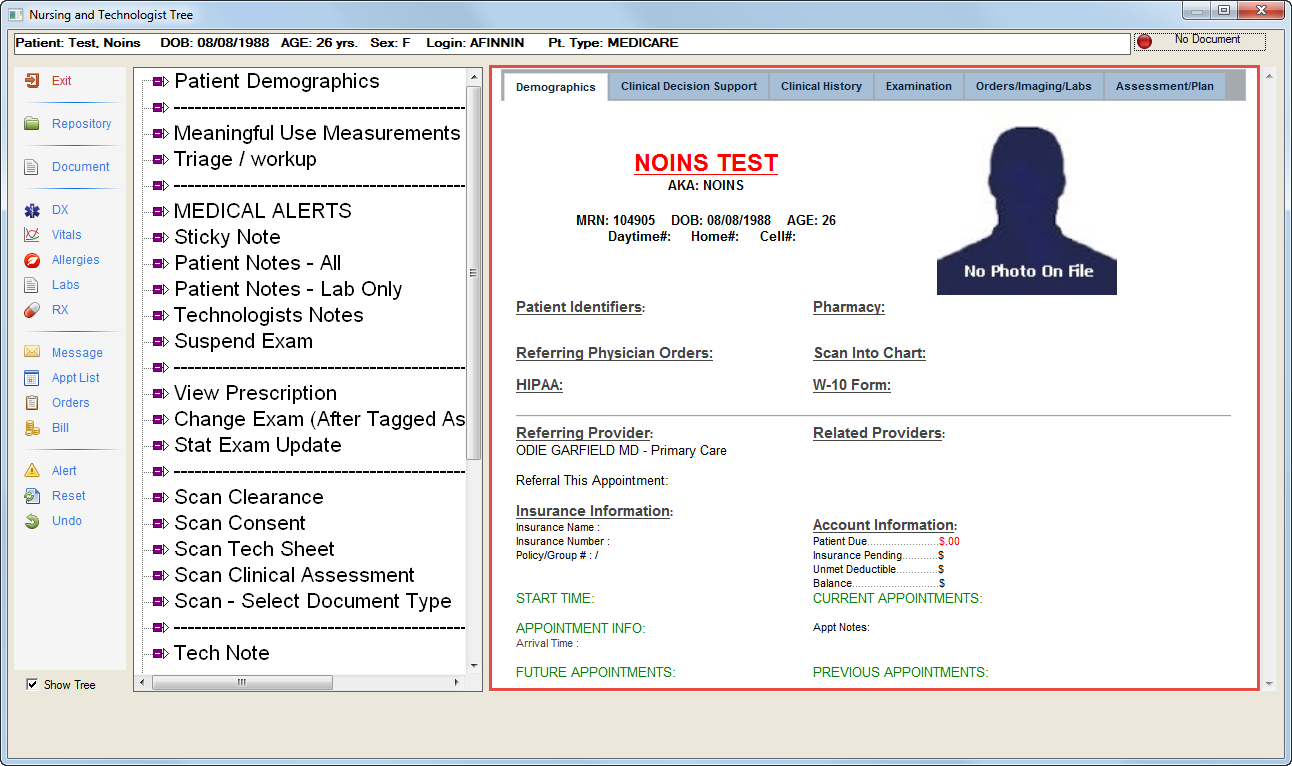
The Patient Care screen consists of 3 Panes.
The left-hand pane contains Links to get to other frequently visited areas of MedInformatix.
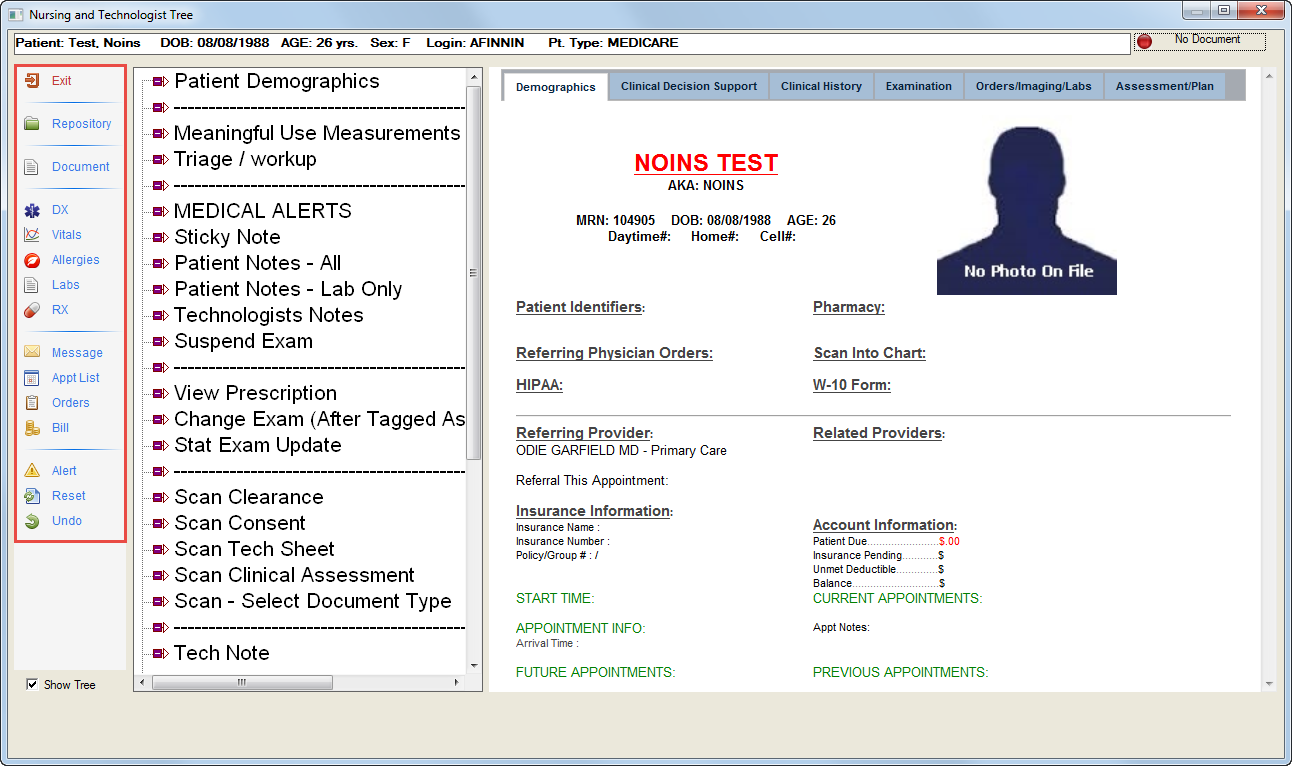
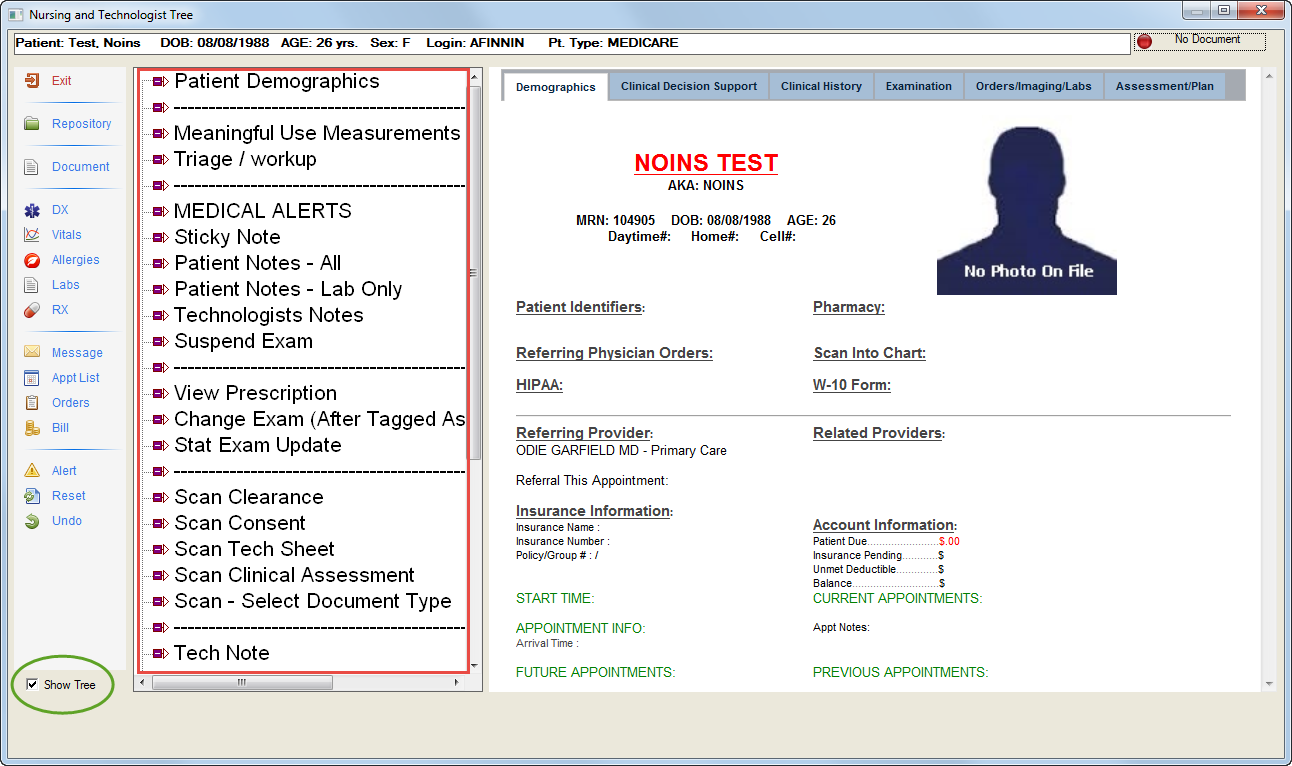
The middle pane, or Main Tree, is a hierarchal list of Tasks and Items. Clicking on each will cause an action to happen, another screen to open, or a secondary list of options to appear under the selected item. It is possible to turn off the Main Tree by clicking the Show Tree checkbox located in the lower left hand corner of the screen.
The right-hand pane, or Clipboard displays important information about the patient. As you complete Patient Processing tasks, new information will be added to the Clipboard.
-
The information displayed on the Clipboard varies depending upon which Tree is selected. For example, the Physician will see different information than the Front Desk staff.
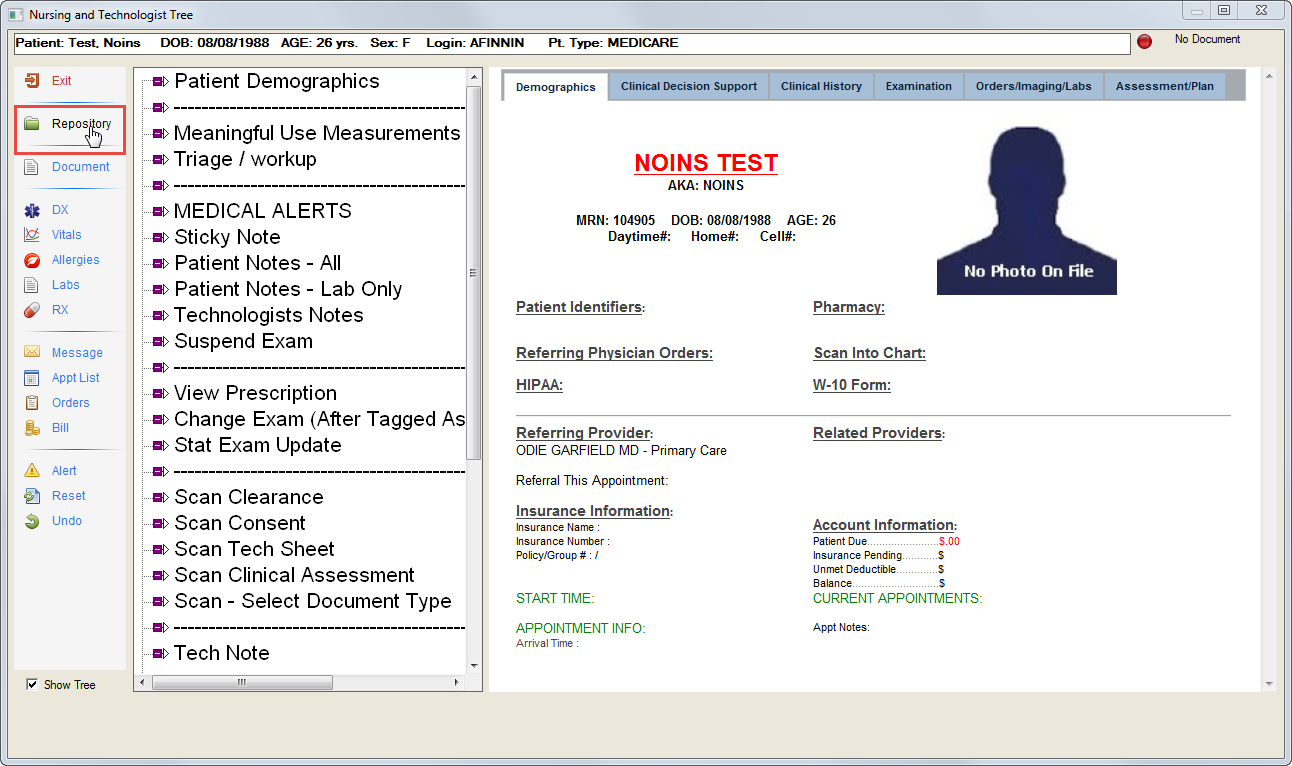
To access clinical documents, click Repository from the left-hand pane
Select a document to view in the Documents on File window that displays and it will appear in the Document Repository Window
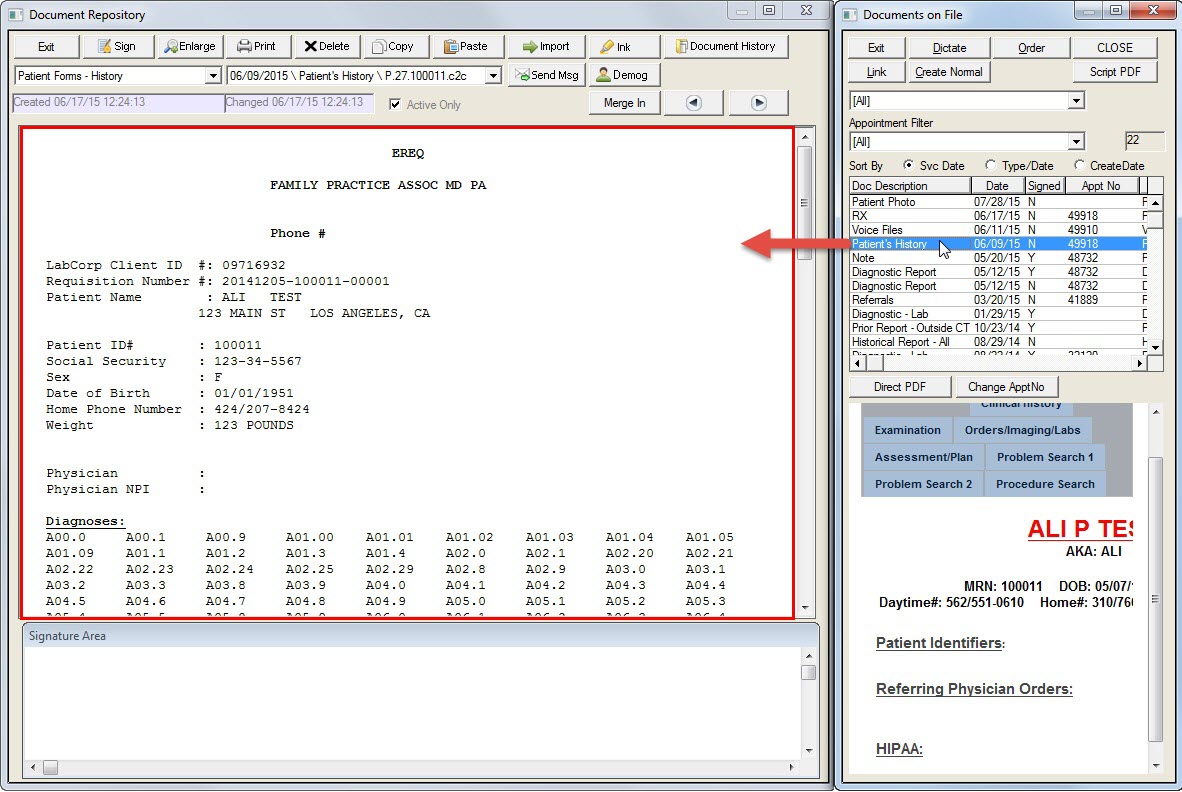
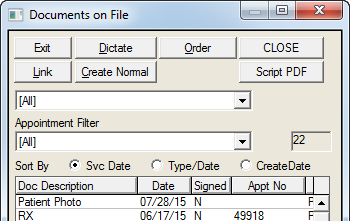
Filter and Sort documents using the options at the top of the Documents on File window.
-
Move and rest your mouse pointer over various parts of the screen image below to display tips and important information about that area/button
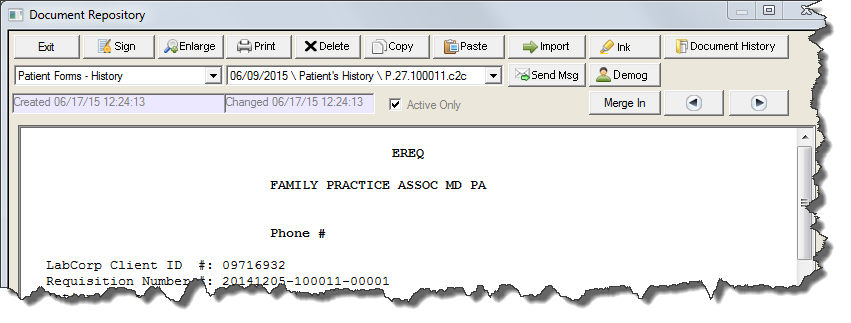
Use the Buttons within the Document Repository window to work with the document you’ve opened
-
Move and rest your mouse pointer over various parts of the screen image below to display tips and important information about that area/button.
-
If used, the "Sign" button locks out the document from further changes
-
The Delete button will remove the contents of the page from view. but will not remove the actual slot occupied by the page.
This is used to remove inaccurate documents from view -
If the documented being “deleted” is already signed, the system will prompt the user to create a new un-signed copy of the original document
To close the document, click Exit