Patient Account Merge
Overview
The MedInformatix client includes a basic merge function to merge documents from one account to another.
What's New
A new merge functionality that has an integrated User Interface to manage the merge configuration. This includes:
A Merge From field with a Select button
A Merge To field with a Select button
A Merge button
An Exit button
A Status window
A stored procedure which returns either success or failure results to the user
Displays merge logging data
Handles errors
Update a script to discover tables that aren't included in the merge by default
Enable
In DIMPROF settings
[Security]
Patient Account Merge=0/1 (0=disabled, 1=enabled)
Patient Account Merge Preferences=0/1 (0=disabled, 1=enabled)
Patient Account Merge Complete Search=0/1, (0=disabled, 1=enabled)
Notes:
Does not allow an account to be merged into itself (From and To cannot be the same).
Does not replace the existing limited Document Merge.
Merge is permanent, it cannot be undone.
No merge from one company to another.
No merge if duplicate account contains charges.
Appointment numbers will not change, only account numbers and SS numbers.
Settings:
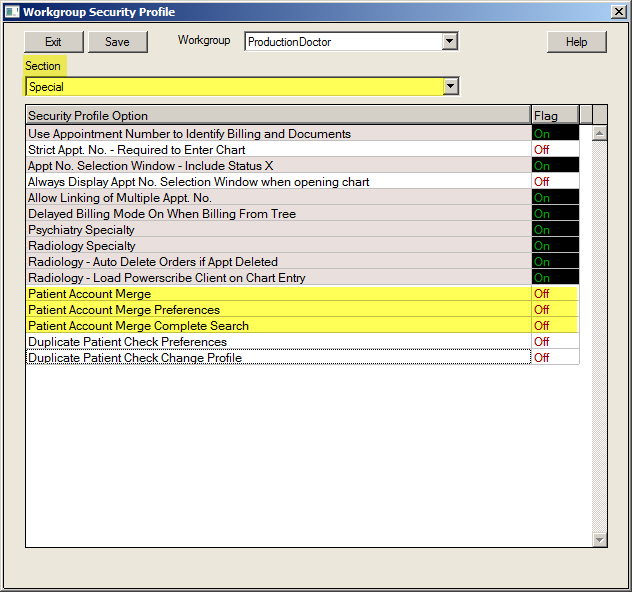
In the Workgroup Security Profile screen.
Select Workgroup from the Workgroup pulldown list.
Select Special in the Section field pulldown list.
Click the following options to turn them ON:
Patient Account Merge
Patient Account Merge Preferences
Patient Account Merge Complete Search
Instructions
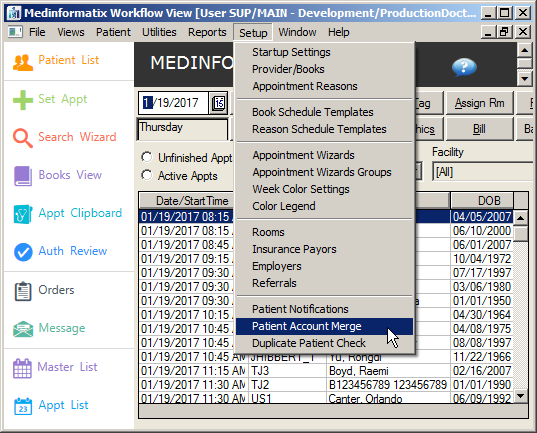
Click the Patient tab located along the upper edge of the Workflow View screen.
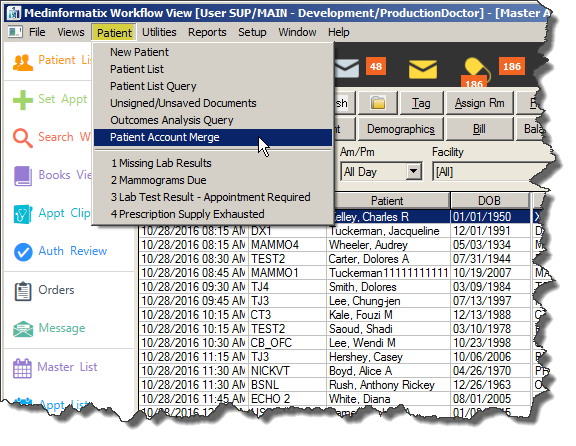
Select Patient Account Merge from the pulldown list to open the Patient Account Merge screen.
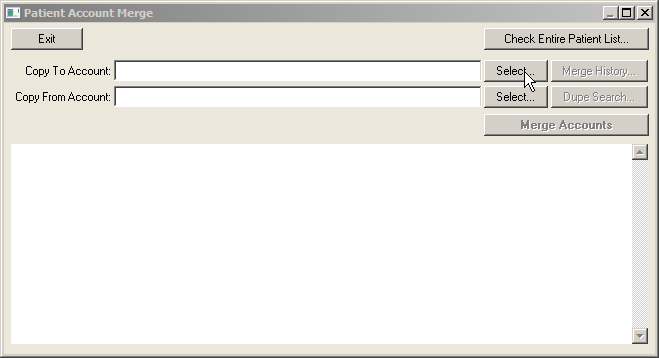
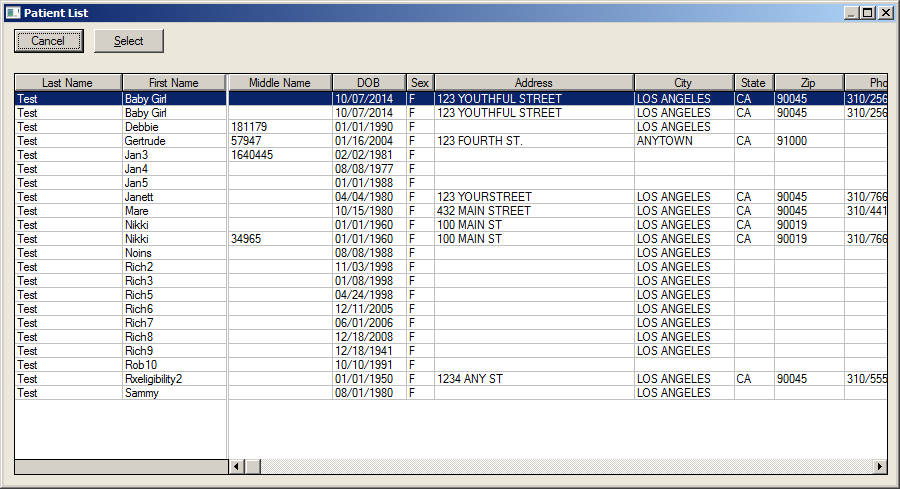
Click the Select button next to the Copy To Account field to open the Patient List screen.
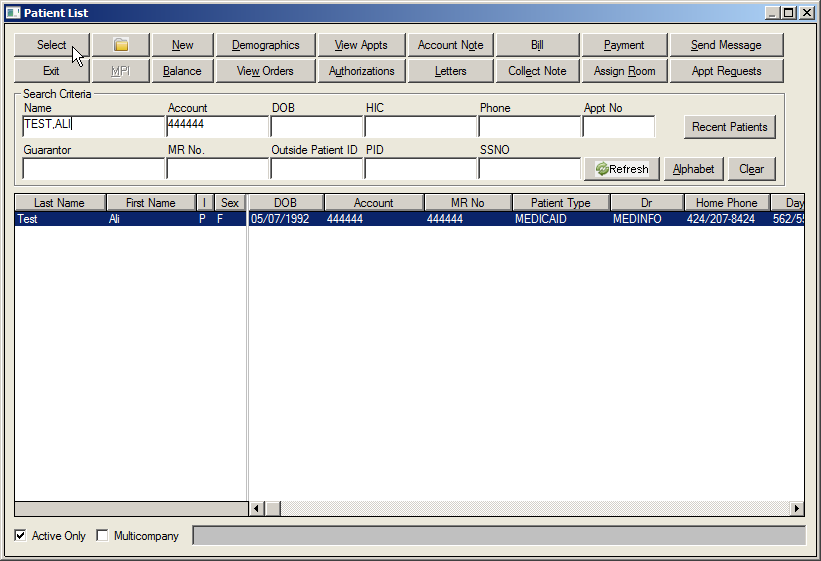
Search for the desired patient and click the Select button. The name and account number will populate the Copy To Account field.
Click the Select button next to the Copy From Account field to open the Patient List screen again.
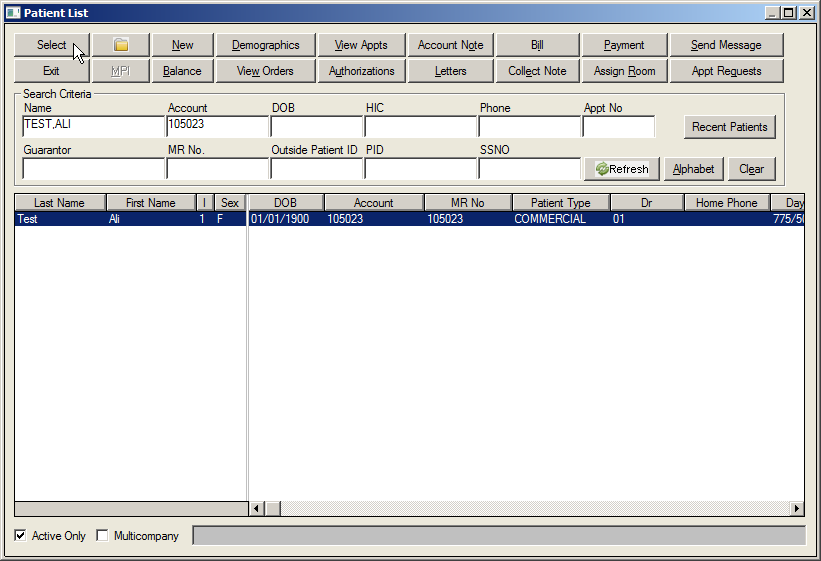
Search for the desired patient and click the Select button. The name and account number will populate the Copy From Account field.
Verify the Copy To and Copy From account information in the screen. Appointment Count will be listed.
Note: The Patient Account Merge summary is controlled by MERGE.HTM file located in the TABLES folder.
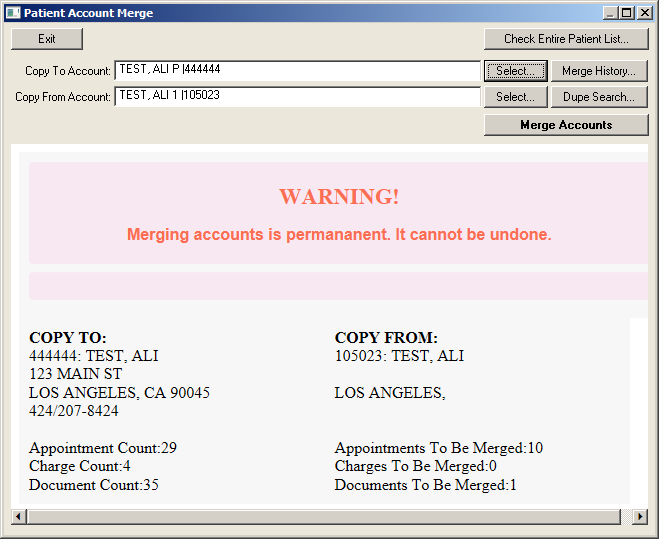
Click the Merge Accounts button.
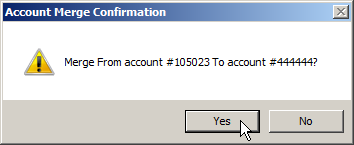
Click the Yes button on the Confirmation prompt.
Click the Merge History button to view past account merges.
The Patient Account Merge History screen shows the merges on the selected accounts.
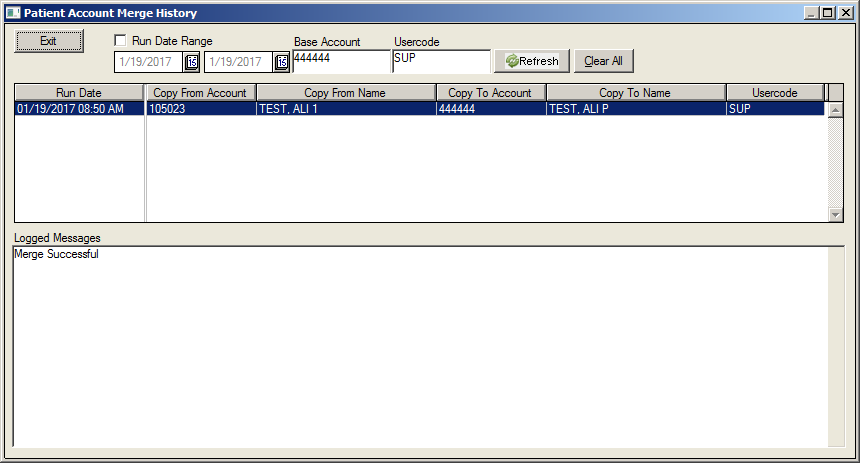
Click the Run Date Range checkbox and set the dates on the calendar icons.
Click the Dupe Search button to eliminate any duplicate entries. Clicking this button opens the Patient List screen.
Select the Duplicate Patient Check Profile.
Click the Exit button to return to the Workflow View screen.
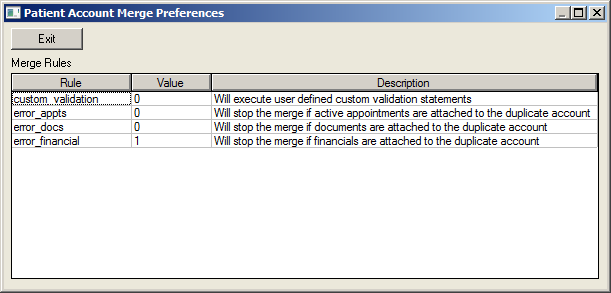
Preferences
The Patient Merge Preferences screen shows the parameters that determine how the merge will be accomplished. They are preset by MI and can be custom configured for each client. They can be turned on or turned off, but they can't be changed by the user.
Click the Setup tab located along the upper edge of the Workflow View screen.
Select Patient Account Merge from the pulldown menu.
To turn on the rule, enter "1" in the Value column. To turn it off, enter "0."
Click the Exit button to exit the screen.