New MedInformatix Installations
Download the latest of the MedInformatix Application Server
Create a \MEDINFO.INSTALL folder on the primary application server data drive.
Right click on the Setup.exe file
Select Run as administrator.
Enter the administrator password in the Installation Password screen.
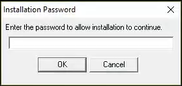
Click OK
Enter the name of the folder to keep the Net service Configuration files. On a new install, the recommended folder is:\MEDINFO.CONFIG located on the same drive where the system will be installed.
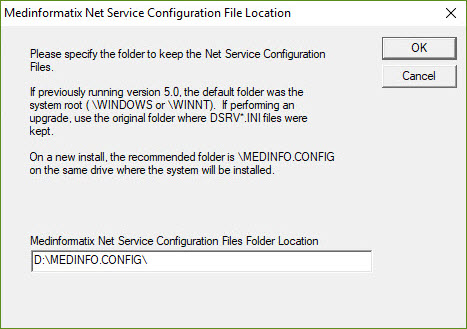
Click OK to continue.
Scroll down through the MedInformatix License Agreement and click the "I Accept" button.
After the Installation files have been unpacked, the MedInformatix Server Installation screen will appear.
Select the Setup tab.
Click "Install Server Software (New Install)" from the dropdown menu.
This installation must be performed on the windows server computer designated as the Application File Server for this site.

Click OK to open the Installation Options screen.
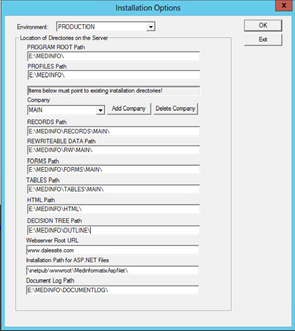
Verify the "program root" directory (Never on C:|) as well as other required directories for the installation.
Fill in the desired location for all the required directories (RECORDS, REWRITEABLE,FORMS,TABLES, DECISION TREE).
Set the desired session parameters (Security Policies, Decision Tree Cache Handling, Forms Cache Handling, License Server, Logging Server).
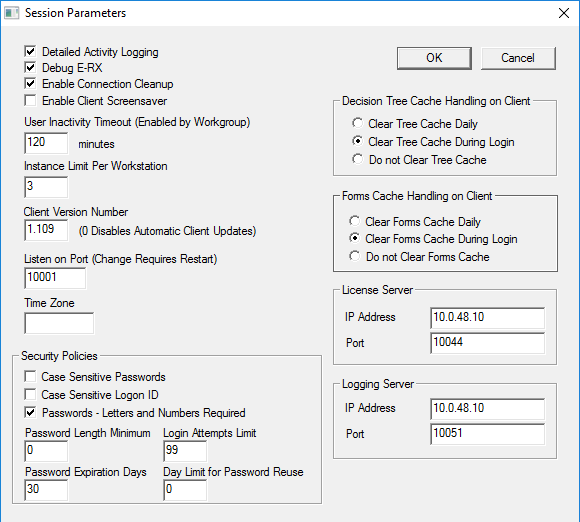
Click the OK button to continue the install.
Configure the connection between the Net Service and SQL Server.
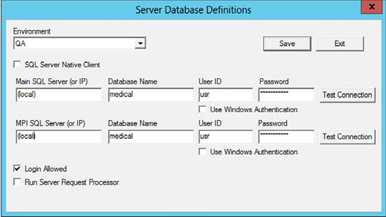
- Main SQL Server: Database instance OR IP of SQL Server (ipconfig in command prompt should yield desired result) (ex. MEDINFOTEST OR 127.0.0.1)
- MPI SQL Server: Same as Main SQL Server (can be altered by navigating MEDINFO.CONFIG\RDSLIST.DAT)
- Database Name: medical
- User ID: usr
- Password: (leave blank)
- SQL Server Native Client: Always check, unless version of SQL Server is 2000 or older
- Use Windows Authentication: Leave unchecked
- Run Server Request Processor: Uncheck
After the Net Service files are installed you will be prompted for the Net Service Log On Parameters.
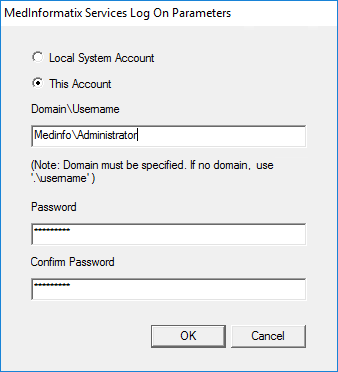
Click This Account to add a separate user name for the net services (1, 2 and 3) that will be created.
Enter the User name and password for the user that has the necessary rights to access the SQL server. This is useful when the client has a separate SQL server.
Designate the service recovery options. These options can be different for first failure, second failure and all subsequent failures. Defaults to Restart the Service.
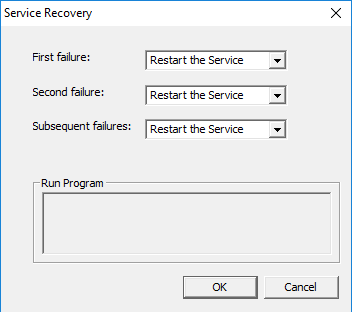
Click OK
Obtain the AWS ID from MedInformatix Accounting. Once the ID is entered, the License app will control the remainder of the licensing process.
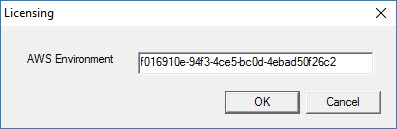
Click the OK button. An Installation Complete prompt will appear.
Configure Net Services
Select MSETUP.EXE from the Applications Tools file.
Select Services Manager from the MedInformatix Server Installation screen.

Right click on the name of the service to access the pulldown list.
Select Properties from the pulldown list.
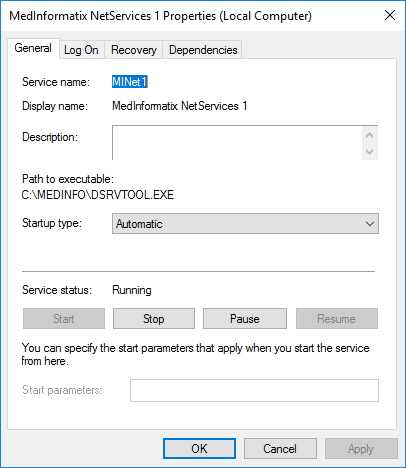
Click the Log On tab

Select one of the following:
- Local System account: Click checkbox to allow service to interact with desktop.
- This account: Enter the user name of an individual account and set a password for that account.
Click the Recovery tab.
Select the service recovery method from the pulldown list for the first, second and subsequent failures.
.png)
SQL Scripts
Connect to Microsoft SQL Server Management Studio (this may be on another server) Navigate to D:\MEDINFO and run MSCREATE.SQL on the ‘master’ Database
Once the script has run and the medical database has been generated, run the following scripts, in order, from D:|MEDINFO folder
- pv76.SQL if this is a new installation of v7.7 only
- pv77.sql (may be located in D:\MEDINFO.INSTALL
- DIMRUN.SQL
- DIMRUN2.SQL
- NCInstaller.
NewCrop Services
Locate the :\MEDINFO.INSTALL\SERVICES\NEWCROP folder.
Double click the NewCropRxServerInstaller.msi
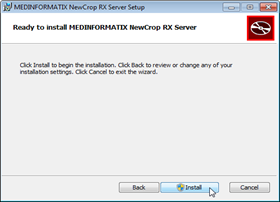
Click the Install button for the Setup Wizard.
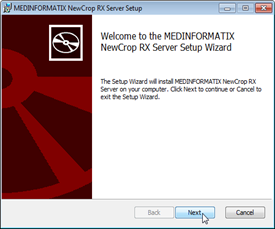
Click the Next button. The Destination Folder screen will appear.
Suggested installation path is: \MEDINFO\NEWCROP\NewCropRxServerInstaller.
Never install on the root of MEDINFO.

Enter the LAN IP address for the server and any non-conflicting port such as 10020 (in the range of other Medinfo services).
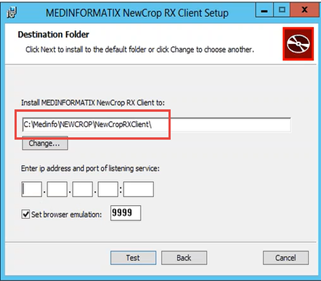
Set Browser Emulation to 9999.
Click the Test button to confirm the information.
Click the Next button to continue the install.
Implantable Device Services (GUDID)
Locate :\MEDINFO.INSTALL\SERVICES\IMPLANTABLE DEVICES folder.
Right or double click on the GudidServerInstaller.msi file to begin the installation.

Do not modify the installation path.
Enter the App Server IP Address:
Set the PORT to 12098
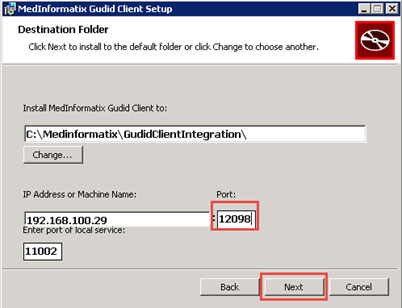
Set the Port of Local Service to 11002.
Click the Next button to advance to the final screen.
Click the Finish button on the final screen.
This will create the C:\MedInformatix\GudidClientIntegration folder
Intelligent Medical Objects (IMO)
Locate the IMOClientInstaller.msi file.
Right or Doubleclick to start the installation.
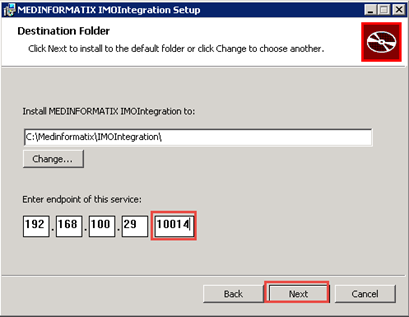
Do not modify the installation path
Enter the App Server IP address
Set the PORT to 10014
Set the Port of Local Service to 11004
Click the Test button.
Click the Next button to advance to the final screen.
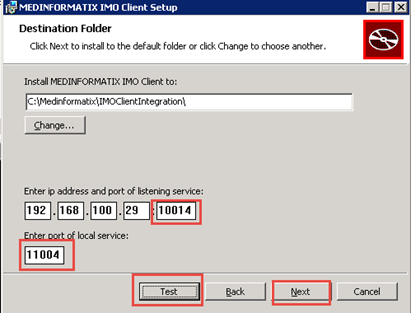
Click the Finish button on the final screen.
This will create and start a new service called MEDINFORMATIX IMO Client REST Service and the C:\MedInformatix\IMOClientIntegration folder.