Table of Contents
Pre-Tracking Configuration and Tasks
Creating a Breast Tracking Reason Code
Scheduling a Breast Tracking Appointment
Accessing the Breast Tracking Tree
Breast Cancer Risk Assessment Tool
Marking Appointments Lost to Follow-Up
Removing Lost to Follow-Up Status
Stopping Tracking on Appointments
Resuming Tracking on Appointment
Accessing the Orders/Tasks List
Locating and Running a Report from the Reports List
Mammography Summary by Radiologist
Introduction
The highly customizable Breast Tracking Module was designed to aid clients in the tracking and management of the breast tracking appointments for their patients. The module gives a platform to record and track data regarding, past and present mammography appointments, recommendation categories, biopsy results, and cancer information. This data is then used to drive workflow, audit and reporting, and to communicate information to patients and referring doctors through our automated letter system. This manual will take users step by step through each feature of our standard Breast Tracking Module.
Pre Tracking Configuration and Tasks
This section will outline the steps to create an appointment within the Breast Tracking Module. It will discuss how to set specific reason codes, schedule exams with those reason codes, and track outside reads.
Logging Into MedInformatix
- Open MedInformatix

- Click Login
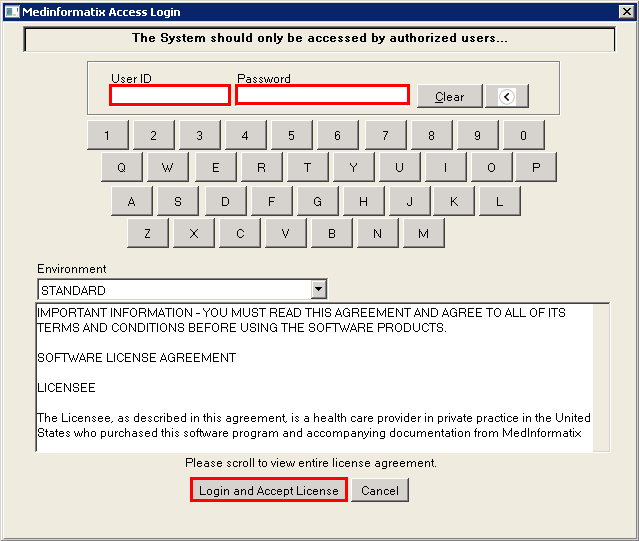
- Enter your User ID and Password then click Login and Accept License
Creating a Breast Tracking Reason Code
Each appointment that is intended to be tracked in the Breast Tracking Module is maintained in the database.
The client will specify which appointment reasons are needed to be tracked in the module. This information gathered will auto-populate the indication, modality, laterality, etc. in the Exam Data screen discussed later in this guide.
Scheduling a Breast Tracking Appointment
This section will walk through how to create an appointment and select the proper breast tracking reason code.
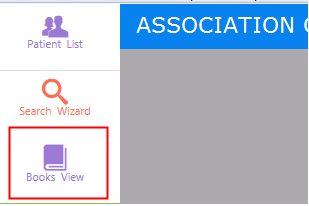
- Select Books View
- Select the Facility/Provider
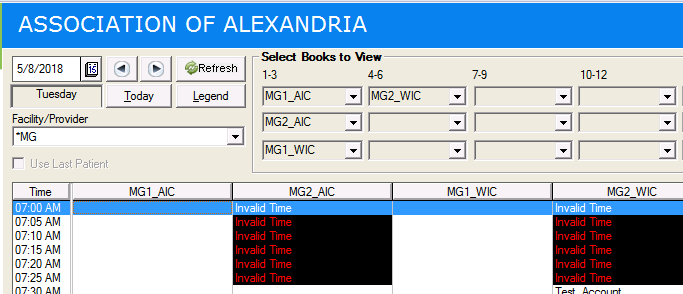
- Select the book for the appointment you are creating and click Refresh

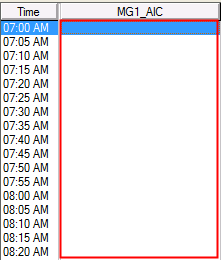
- Double click on the time and book that you wish to schedule the appointment
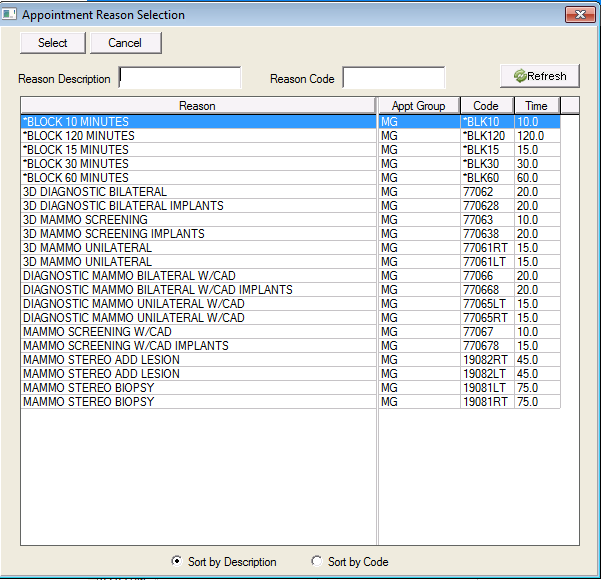
- Select the reason and click Select
- Make sure that you are selecting a reason that has been flagged to go into the breast tracking workflow.
- Make sure that you are selecting a reason that has been flagged to go into the breast tracking workflow.
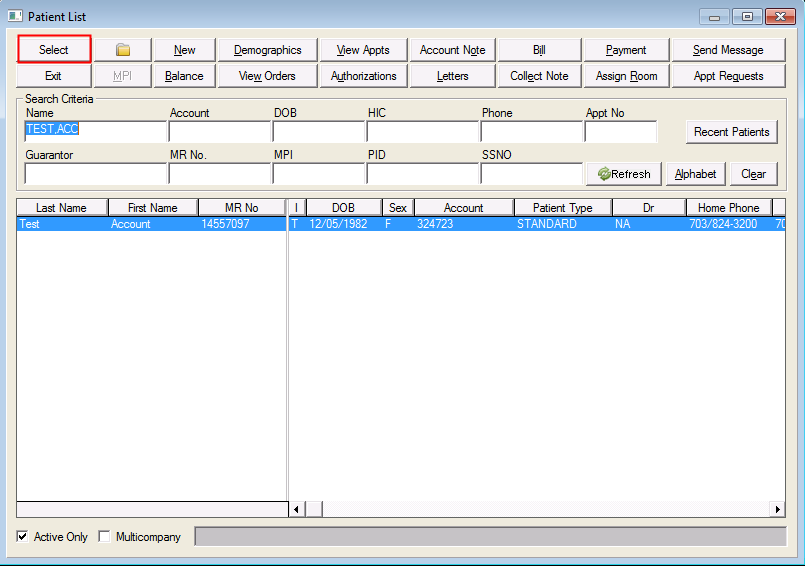
- Enter a patient’s name, account number, etc. and click Select
- Confirm appointment and click OK

Breast Tracking Tree
The breast tracking tree is highly customizable. It allows user to enter result information, manually send letters, upload documents and enter demographic information. It also controls tracking for the appointments. The following sections will walkthrough each of the features in the standard breast tracking module.
Accessing the Breast Tracking Tree
This section will address how to access the breast tracking tree. Please note that screenshots may appear different due to your sites customizations.
- Select Patient List
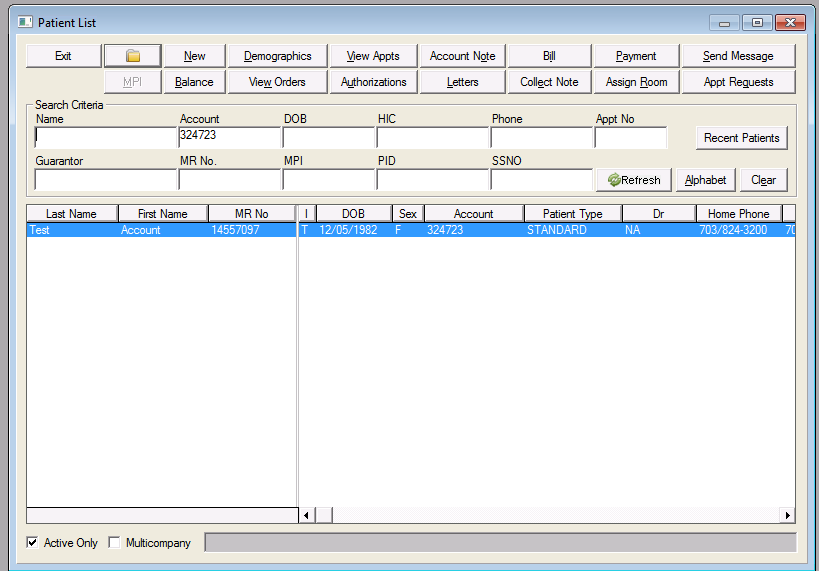
- Enter a patient’s name, account number, etc. and click Refresh
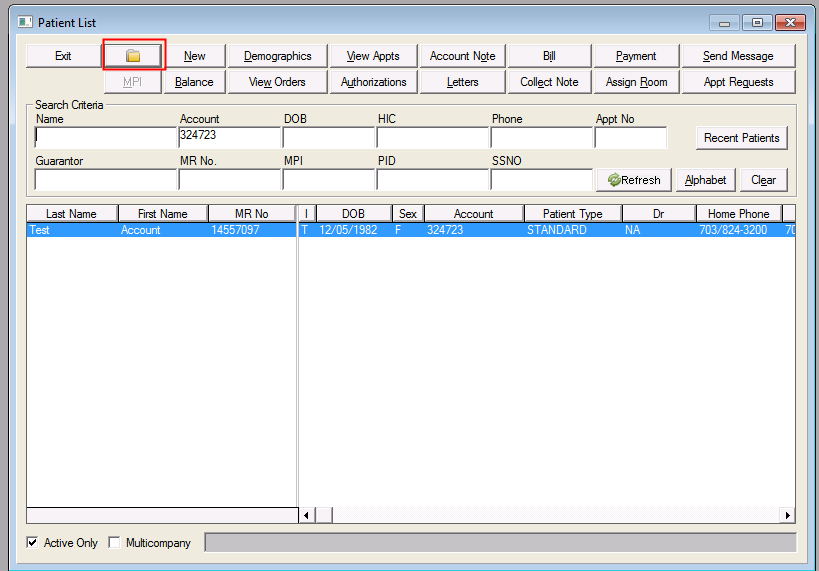
- Open the chart by clicking on the folder icon
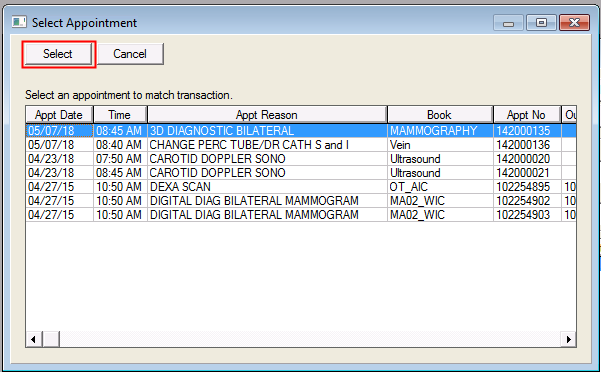
- Highlight the appointment and click Select
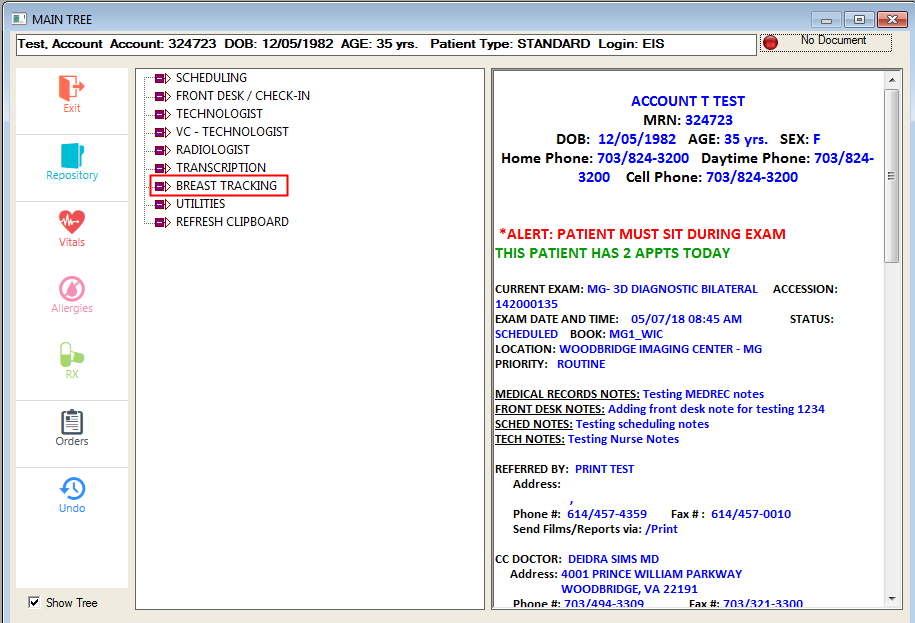
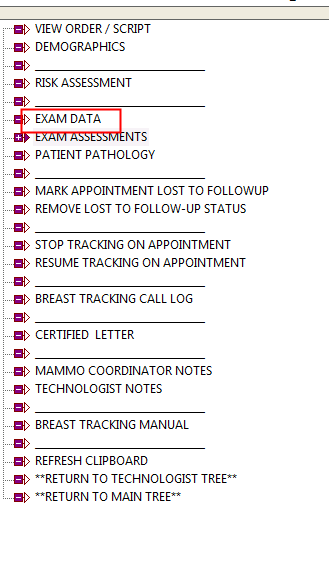
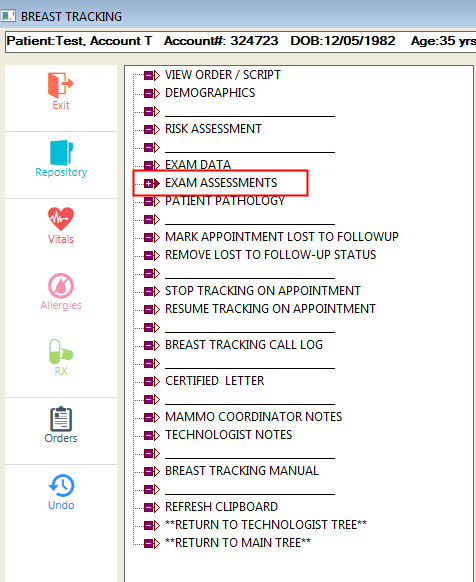
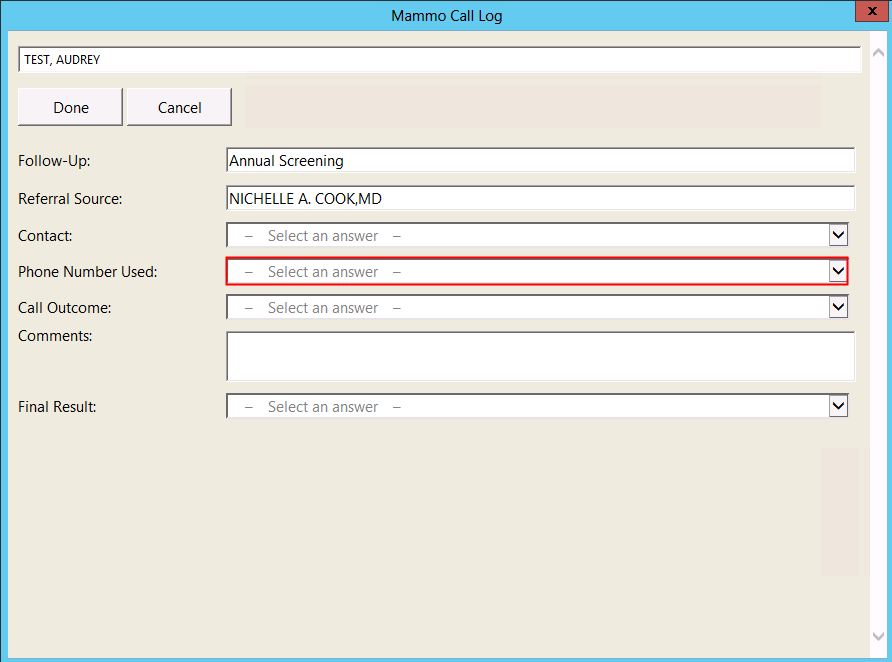
- Go into the branch called ‘BREAST TRACKING’ this will take you into the Breast Tracking Tree
Breast Cancer Risk Assessment Tool
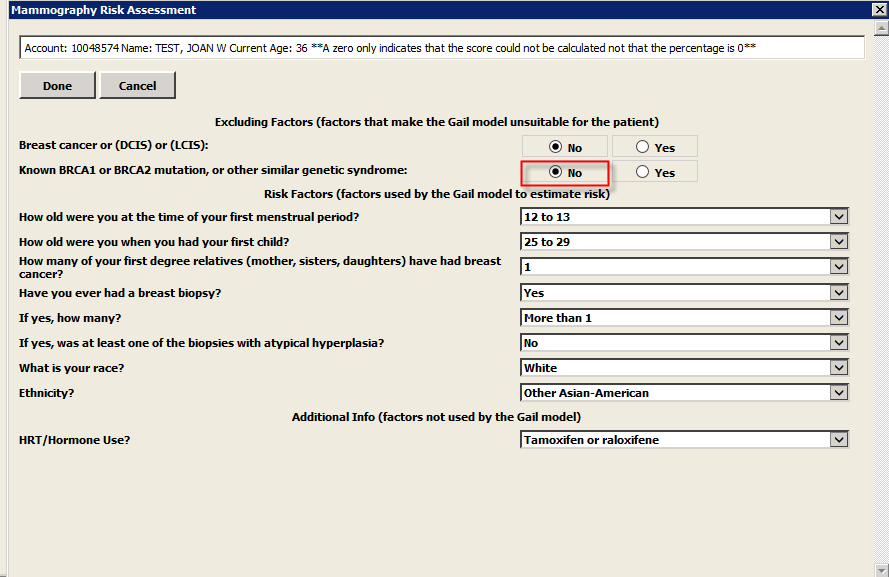
The Breast Cancer Risk Assessment Tool is an interactive tool designed by scientists at the National Cancer Institute (NCI) and the National Surgical Adjuvant Breast and Bowel Project (NSABP) to estimate a woman's risk of developing invasive breast cancer. Below is what information can be recorded:
- Medical History of breast cancer or (DCIS) or (LCIS)
- Known BRCA1 or BRCA2 mutation?
- How old were you at the time of your first menstrual period?
- How old were you when you had your first child?
- How many of your first degree relatives (mother, sisters, daughters) have had breast cancer?
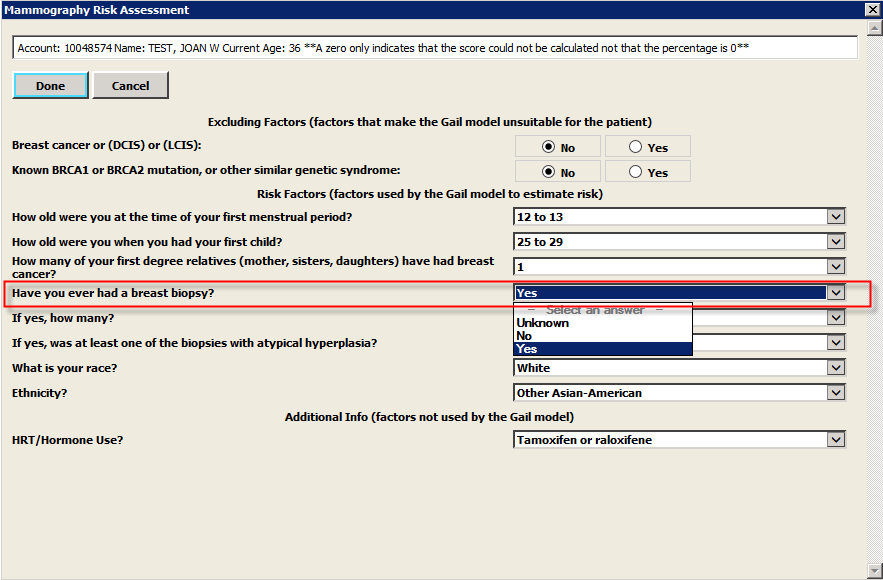
- Have you ever had a breast biopsy?
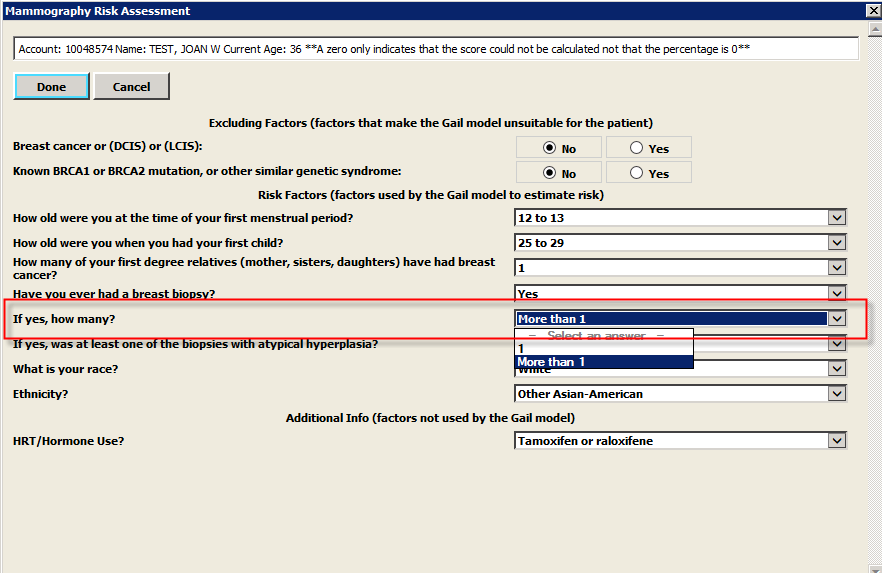
- If yes, how many?
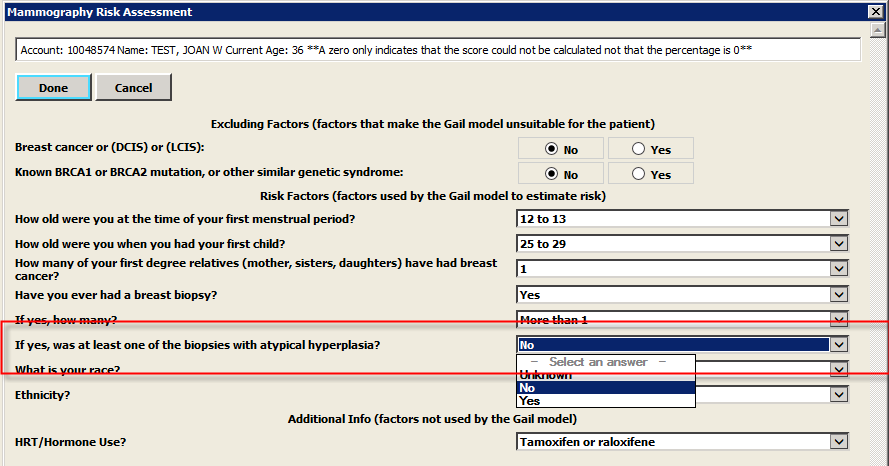
- If yes, was at least one of the biopsies with atypical hyperplasia?
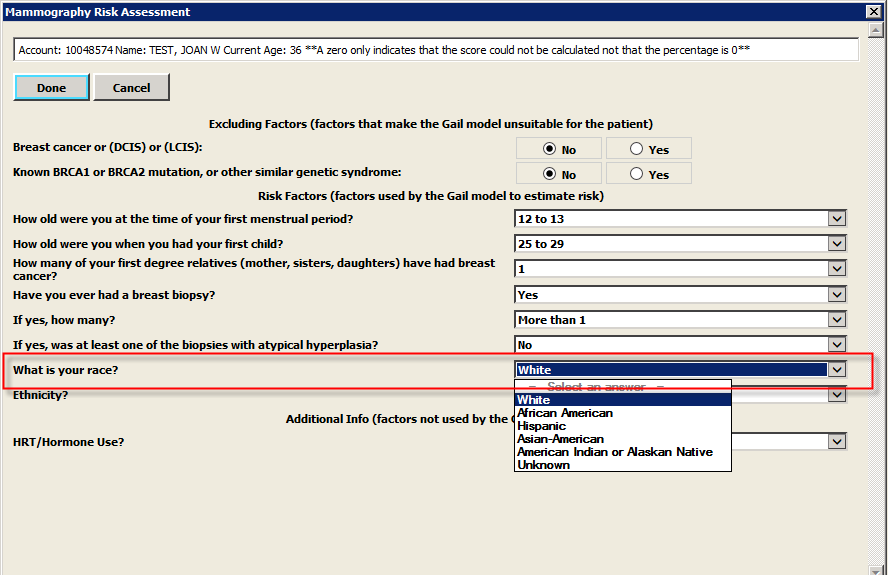
- What is your race?
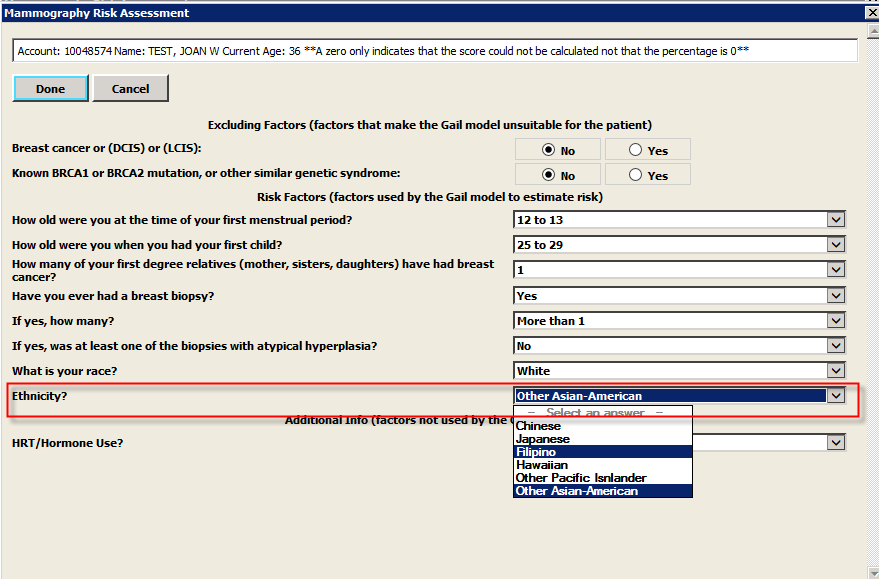
- Ethnicity?
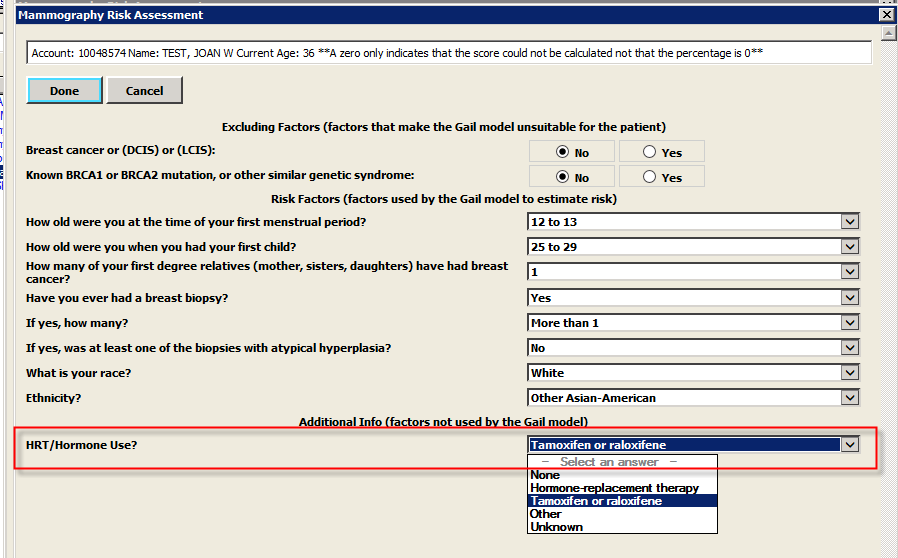
- HRT/Hormone Use?
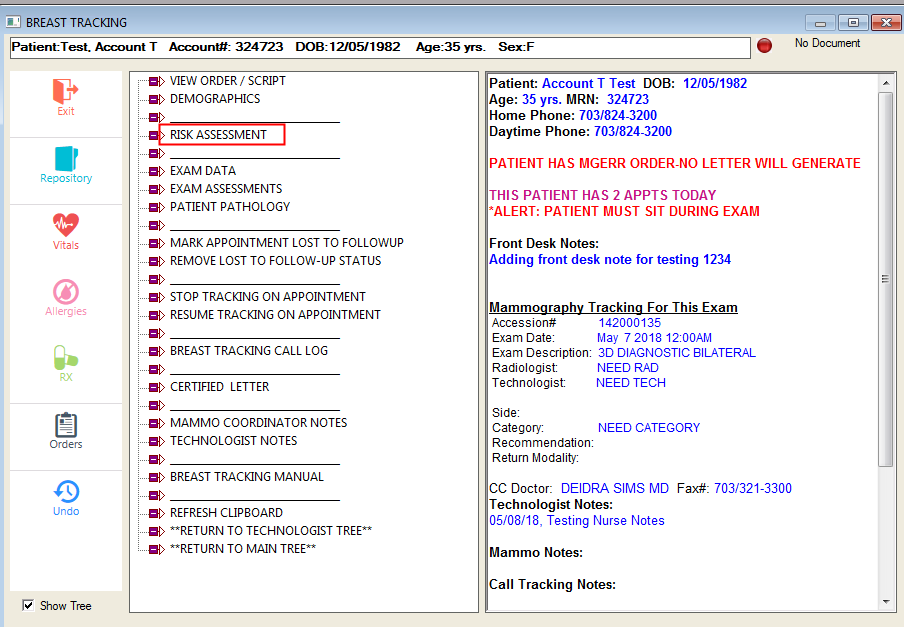
This section will explain the process of entering a Risk Assessment in the Breast Tracking tree.
- Select Risk Assessment
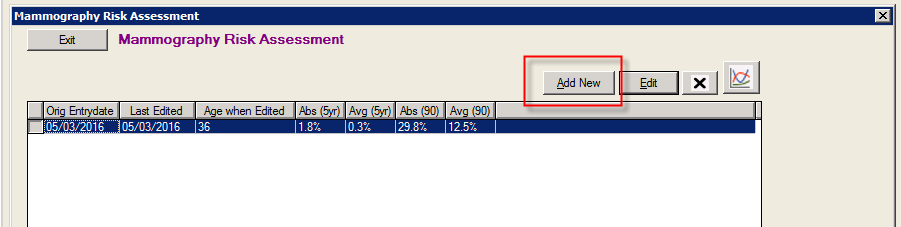
- Select Add New or Edit
- Click Yes or No next to breast cancer or (DCIS) or (LCIS)
**Answers Yes to this question will result in not being able to calculate a risk
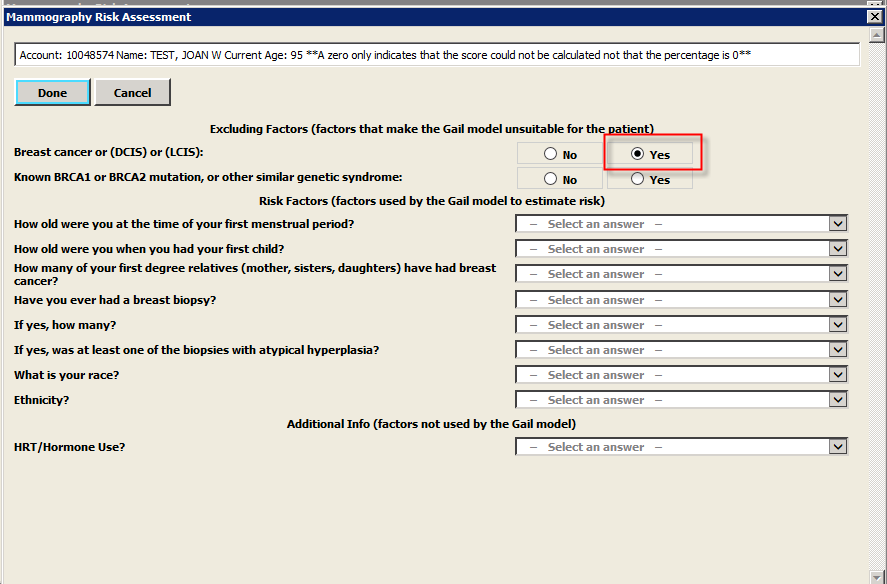
- Click Yes or No next to Known BRCA1 or BRCA2 mutation
**Answers Yes to this question will result in not being able to calculate a risk
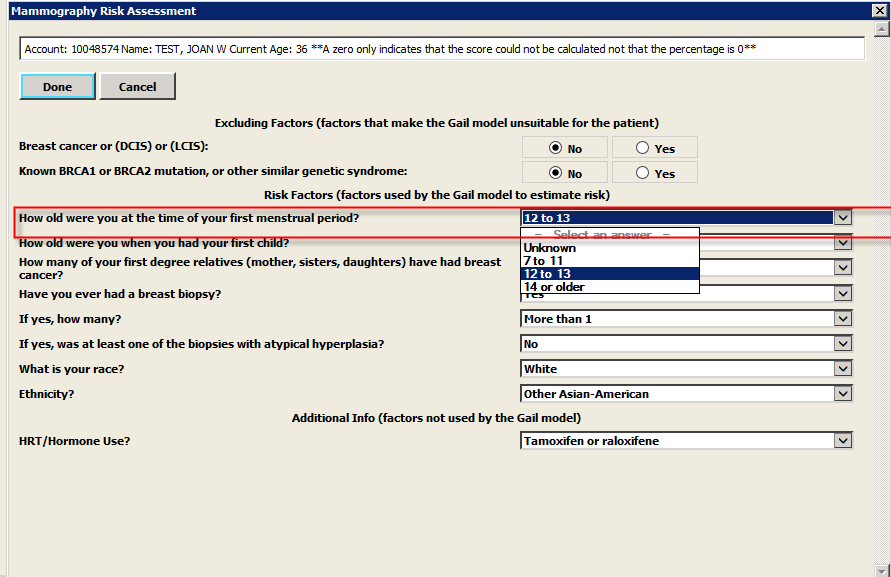
- Select an answer in the answer column next to How old were you at the time of your first menstrual period?
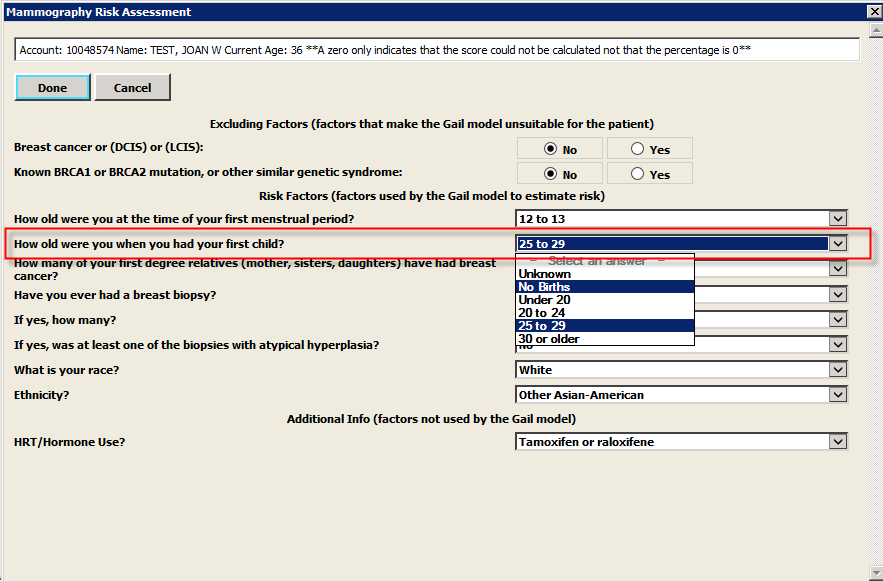
- Select an answer in the answer column next to How old were you when you had your first child?
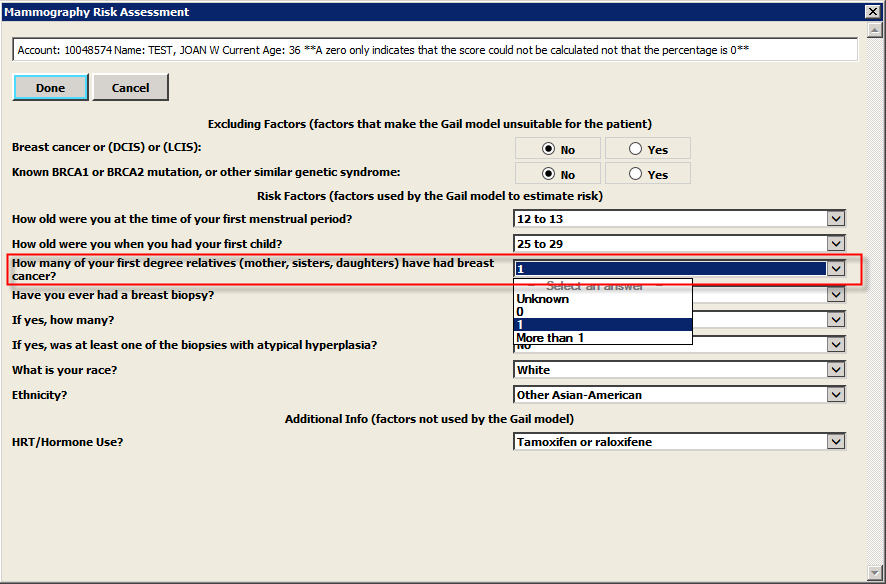
- Select an answer in the answer column next to How many of your first-degree relatives (mother, sisters, daughters) have had breast cancer?
- Select an answer in the answer column next to Have you ever had a breast biopsy?
- Select an answer in the answer column next to If yes, how many?
- Select an answer in the answer column next to If yes, was at least one of the biopsies with atypical hyperplasia?
- Select an answer in the answer column next to What is your race?
- Select an answer in the answer column next to Ethnicity?
- Select an answer in the answer column next to HRT/Hormone Use?
**Does not factor into the risk calculation
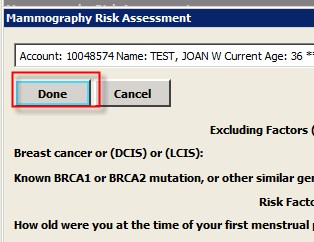
- Click Done
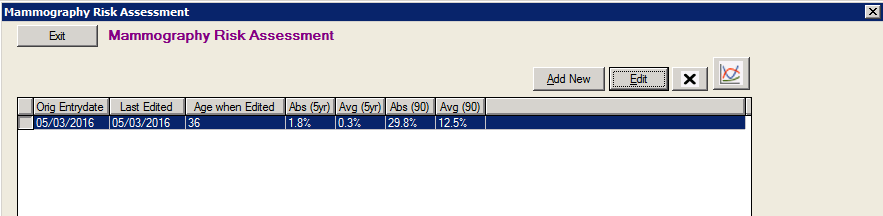
- Review the Results
Entering Result information
There are two branches on the breast tracking tree devoted to results information. The assignment categories (BIRADS) are used to provide consistent understanding among multiple doctors.
The Exam Data branch is used to verify what kind of study and imaging was performed for the exam. This is where you would document if CAD/TOMO was used. The Exam Data screen also allows the user to resolve Follow-Up exams.
The Exam Assessments branch is used to track assignment categories that are assigned in the report and also allows the user to enter information.
Below demonstrates how to manually change the Study and Imaging Information on the Exam and Resolve Follow-Ups
- Select Exam Data
- Verify all of the Information is correct concerning the Modality, Laterality, Imaging View, etc.
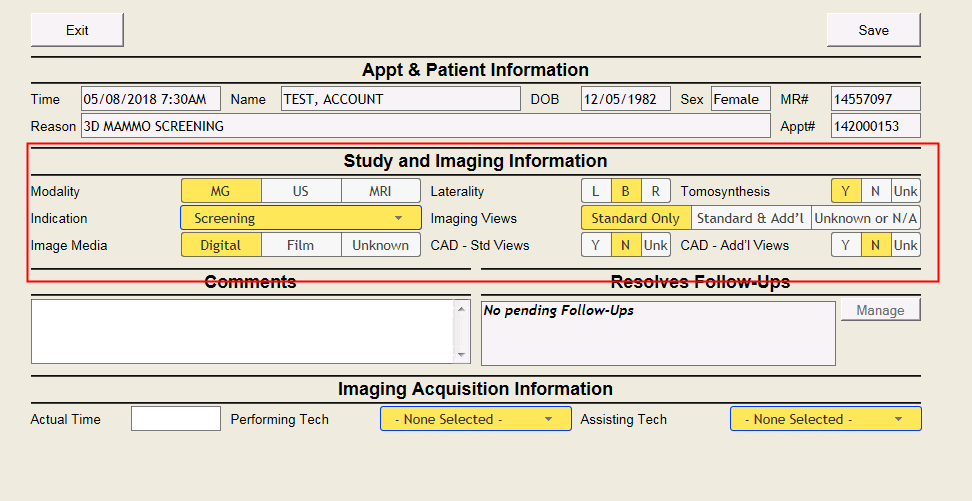
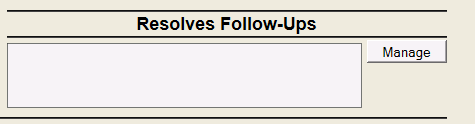
- See if this exam Resolves any Follow-Ups:
If the screen shows ‘No pending Follow-Ups’ there are no previous exams to resolve.
If the screen does not have the ‘Manage’ button greyed out, click on this button.
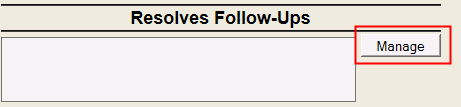
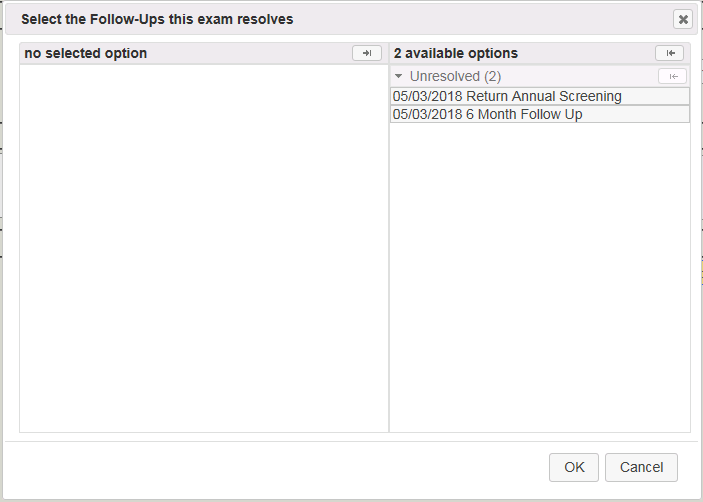
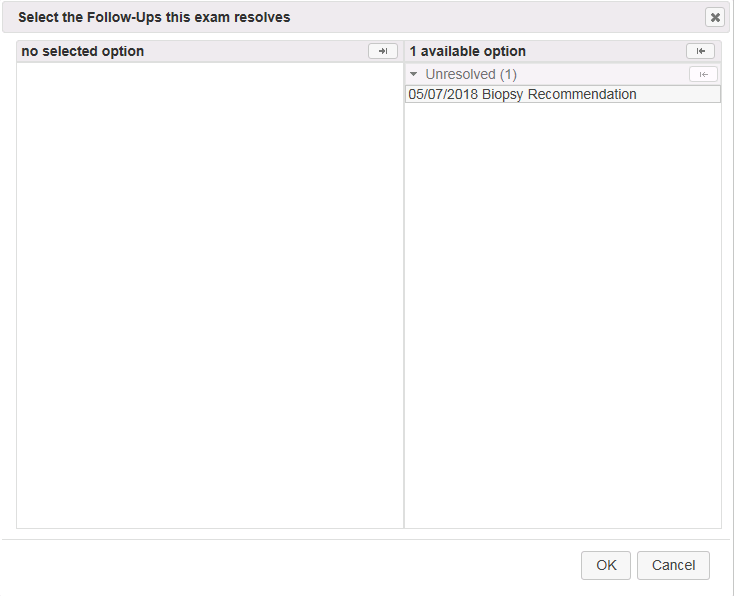
After selecting the ‘Manage’ button, this will populate a screen where the user can resolve an exam that was previously scheduled for this patient and this current exam resolves.
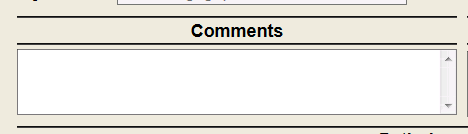
- The Comments field allows users to enter any notes they need to document on the study.
- The Imaging Acquisition Information will automatically fill in after the exam is finalized. This is only for the Actual Time and Performing Tech
- The user can fill out an assisting tech if necessary.

**Please note unsaved answers will appear in a yellow highlight. Once the answers are saved, they will appear as blue.
Below demonstrates how to manually enter the assignment categories results using the breast tracking tree.
- Select Exam Assessments
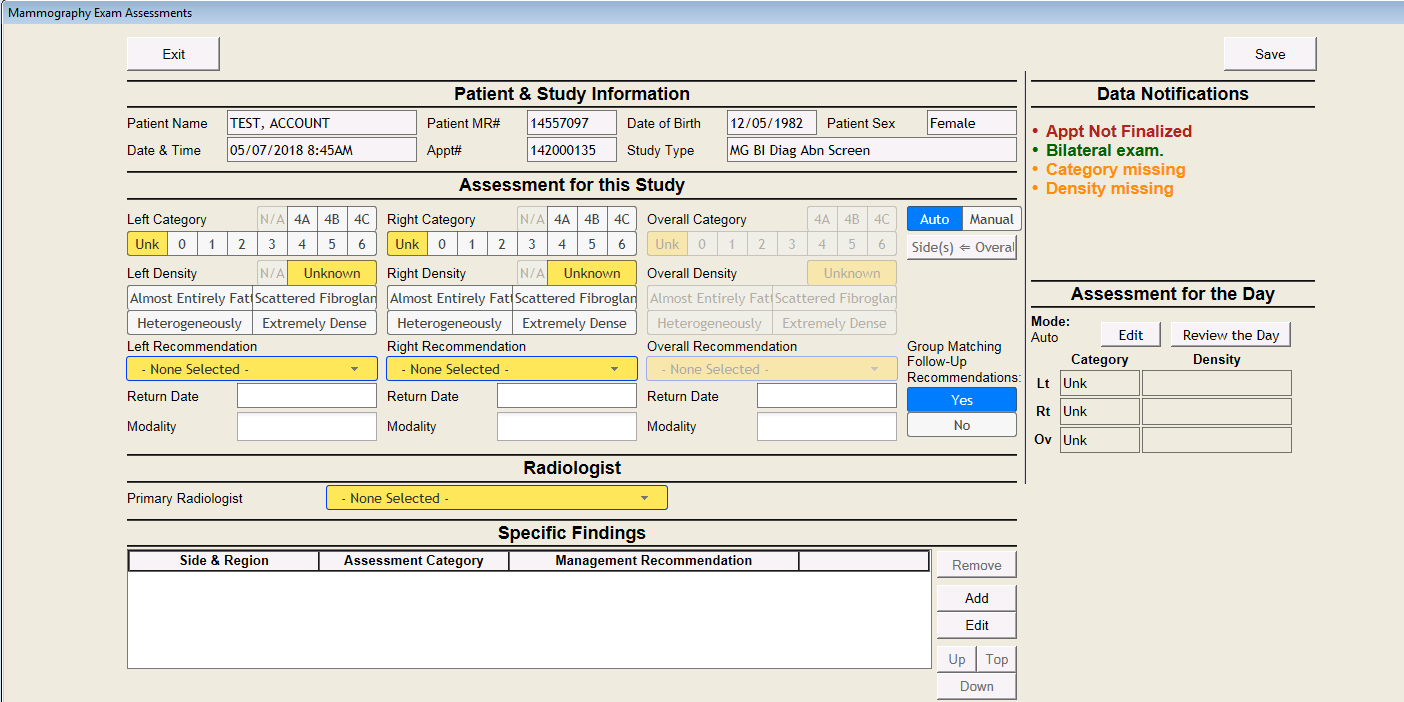
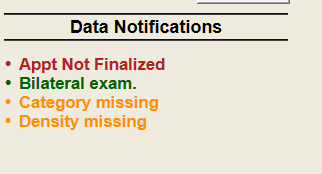
- The Data Notifications section will display information regarding the exam you are in:
- Information will display in three different colors: Red, Orange, Green
- Red – Displays information that is needed to be done for the screen to function properly. Ex. Appt not Finalized
- Orange – Displays information that the user needs to fill out. Ex. Missing Density
- Green – Appointment Information Ex. Bilateral Exam
- Information will display in three different colors: Red, Orange, Green
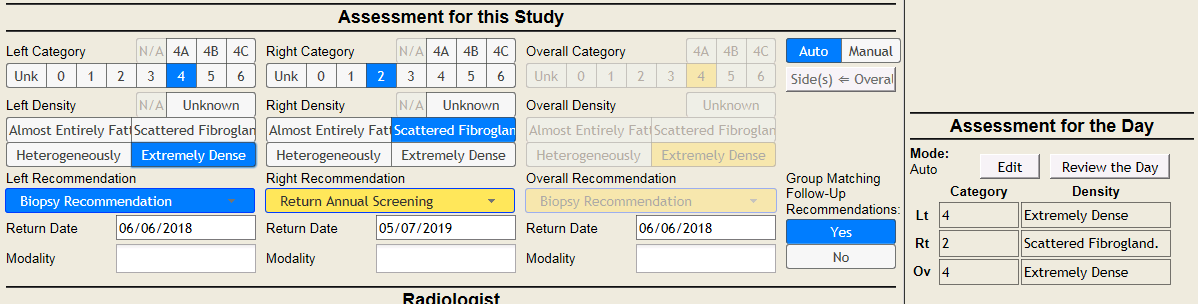
- Fill out the Assessment for the Study:
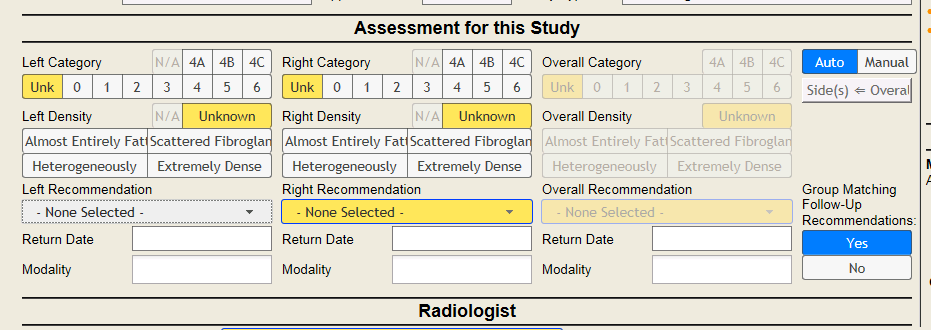
- Select an answer next to Category for the Left/Right Side
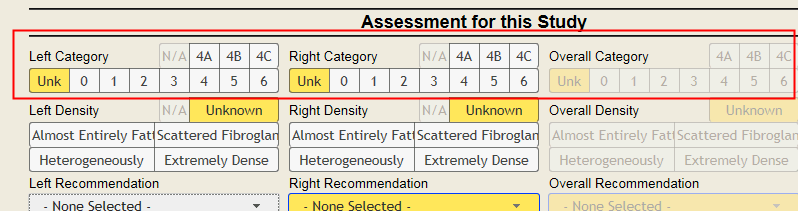
- Select an answer next to the side for Density
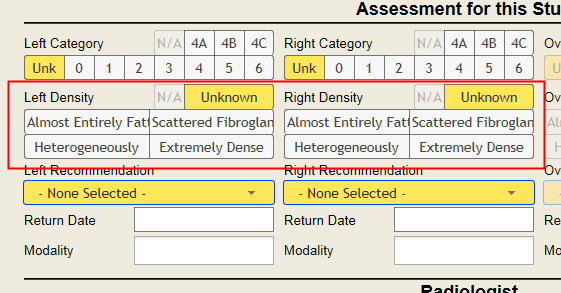
- Select an answer in the answer column below the side Recommendation
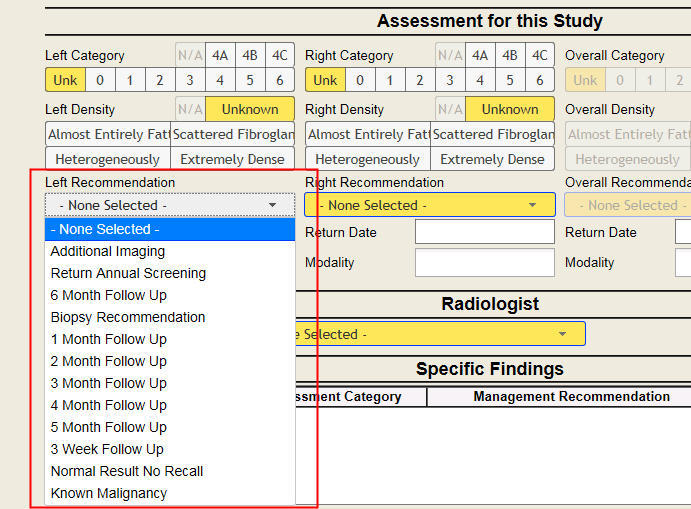
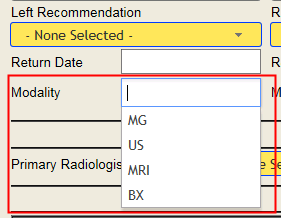
- Click on the Modality field to select the Follow-up Type
- Use the Auto or Manual buttons to populate the Overall Assessment for the Study
- Auto - will take the worst case of the left/right
- Manual – you can override/change what the worst case is
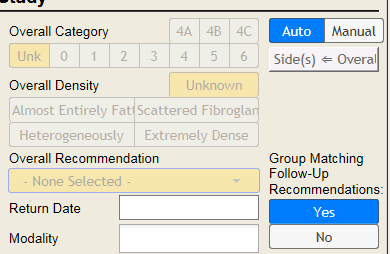
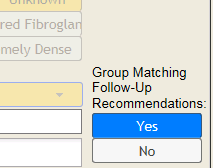
- Group Matching Follow-Up Recommendations:
When ‘Yes’ is selected, the system will only send out one letter for the recommendations that match. When ‘No’ is selected, the system will send two letters out for the same recommendation
- Select an answer in the answer column next to Primary Radiologist

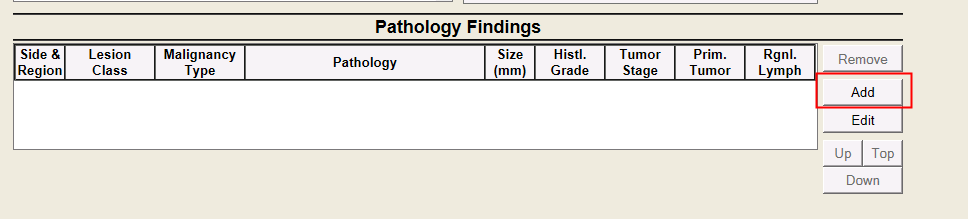
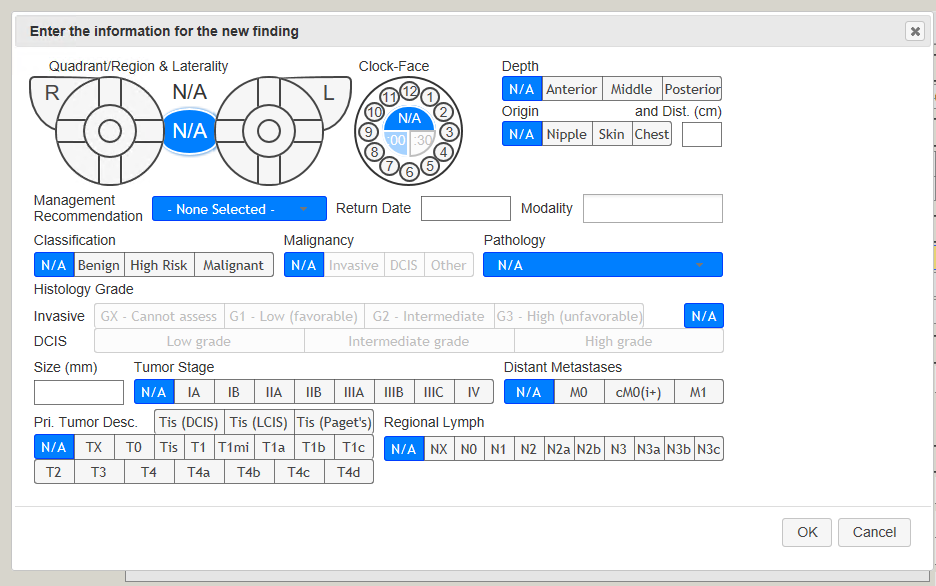
- Specific Findings:
This section is used for documenting on lesions. To fill out this section, hit the ‘Add’ button:

You will then need to fill out information on the finding in the screen below:

Click OK once you are finished.
- Assessment for the Day:
This section will show you the overall Assessment if the patient has multiple exams that day. If the patient only has one, it will display the Category/Density the user filled out on the left side of the screen
- Click Save once you are finished filling out the Exam Assessments screen:
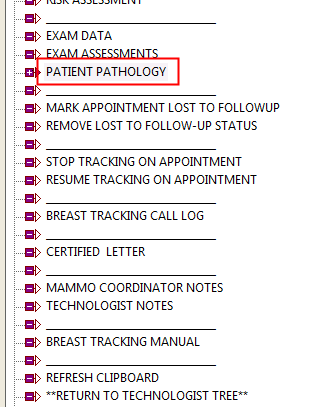
Entering Pathology Results
When a patient has a biopsy, the results can be entered into MedInformatix through the Patient Pathology branch. This information is documented on the patient. It does not need to be linked to a biopsy exam.
The information that can be entered is below:
- Exam Preformed by
- Side/Region
- Lesion Class
- Malignancy Type
- Pathology
- Size
- Tumor Stage
- Distant Metastases
- Primary Tumor Desc.
- Regional Lymph
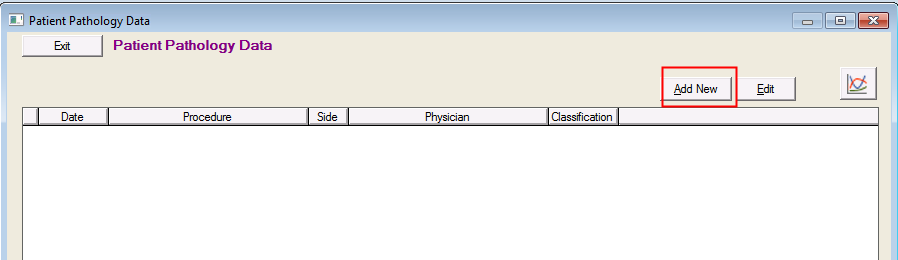
The below steps exhibit the process of results in the Patient Pathology branch:
- Select Breast Imaging/Biopsy Tracking
- Select the ‘Add New’ button when wanting to enter a Patient’s Pathology Data:
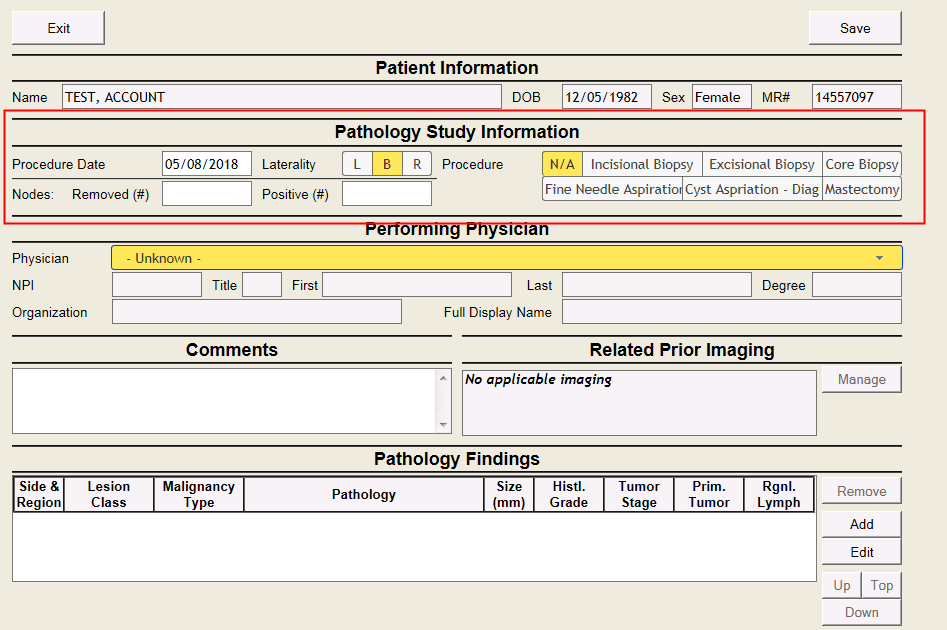
- Enter the Pathology Study Information:
- Select an answer in the answer column next to Physician:
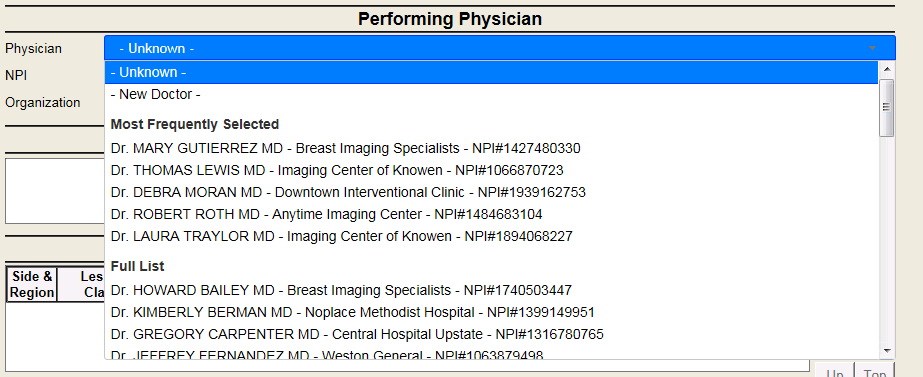
This will auto-populate the physician’s information below their name, which includes the NPI, First and Last Name, Degree and Organization Name.
- The user can enter any Comments in the field below regarding the Pathology Data:
- See if this exam Resolves any Follow-Ups:
If the screen shows ‘No pending Follow-Ups’ there are no previous exams to resolve.
If the screen does not have the ‘Manage’ button greyed out, click on this button.
After selecting the ‘Manage’ button, this will populate a screen where the user can resolve an exam that was previously scheduled for this patient and this current Pathology Data resolves.
- Enter the Pathology Findings:
Click on the Add button to enter lesion findings for the patient:
This will populate the below screen for the user to document on the Pathology Finding:
Hit the ‘OK’ button once the user is finished filling out the information.
You can enter multiple findings for the patient by continuing to hit the ‘Add’ button.
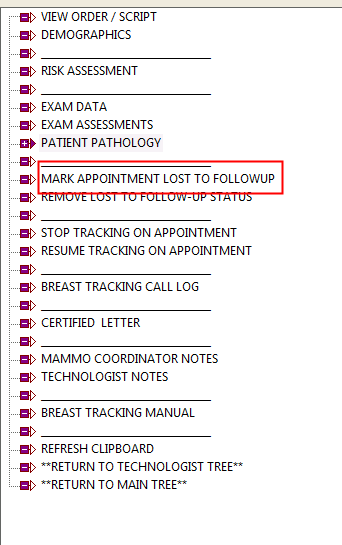
Marking Appointments Lost to Follow-Up
After all orders, letters and attempts to reach the patient have been exhausted, the Lost to Follow Up branch can be used to distinguish which patients you were unable to contact. It flags the patient so that they are accounted for on statistic reports if their positive findings are not resolved.
- Select Mark Appointment Lost to Follow-Up
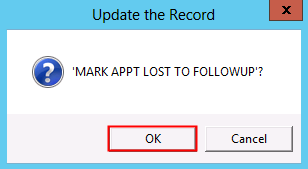
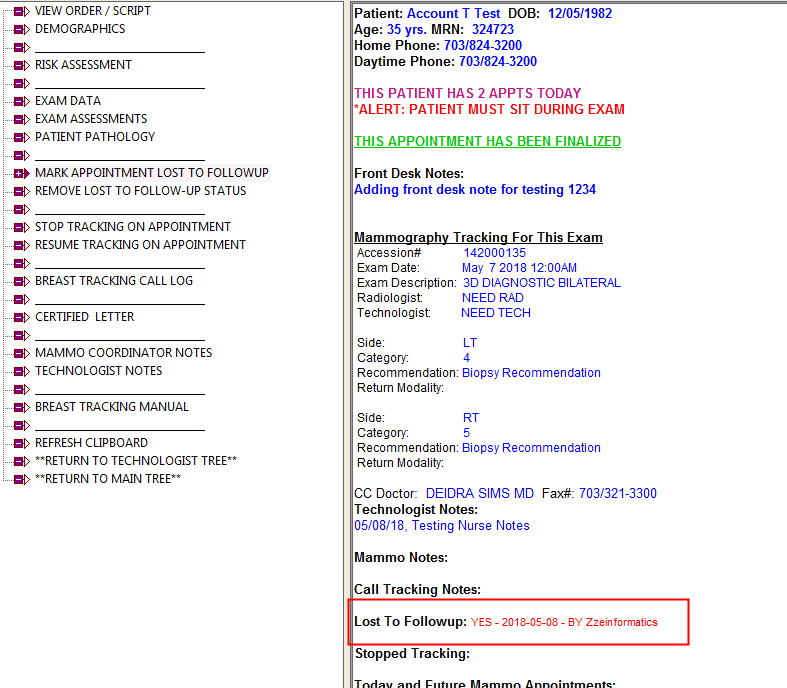
- Click OK
- Verify that the status has updated on the clipboard
Removing Lost to Follow-Up Status
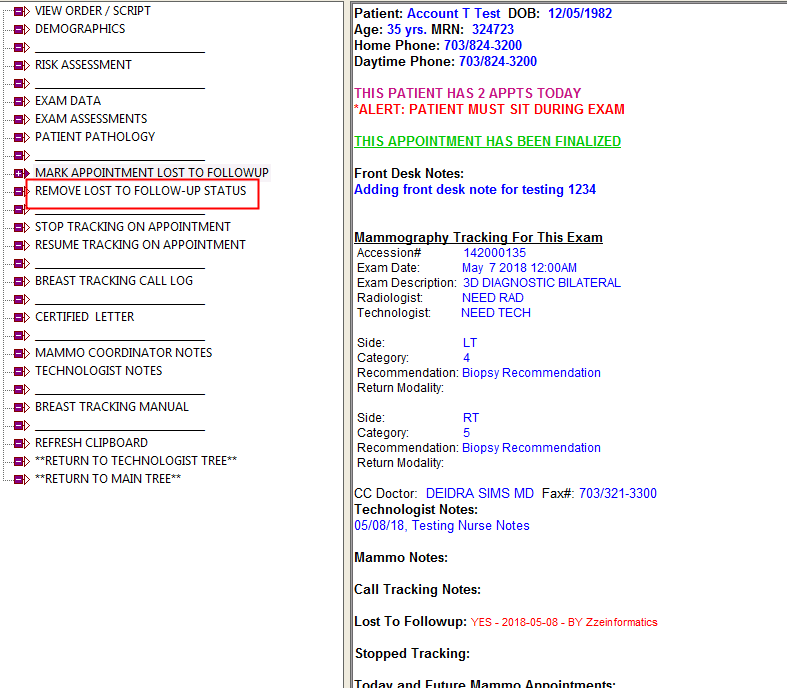
A patient is marked lost to follow-up due to lack of contact with the patient. If the patient returns, this branch in the Breast Tracking tree will remove the status Lost to Follow Up.
- Select Remove Lost To Follow-Up Status
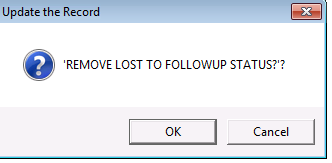
- Click OK
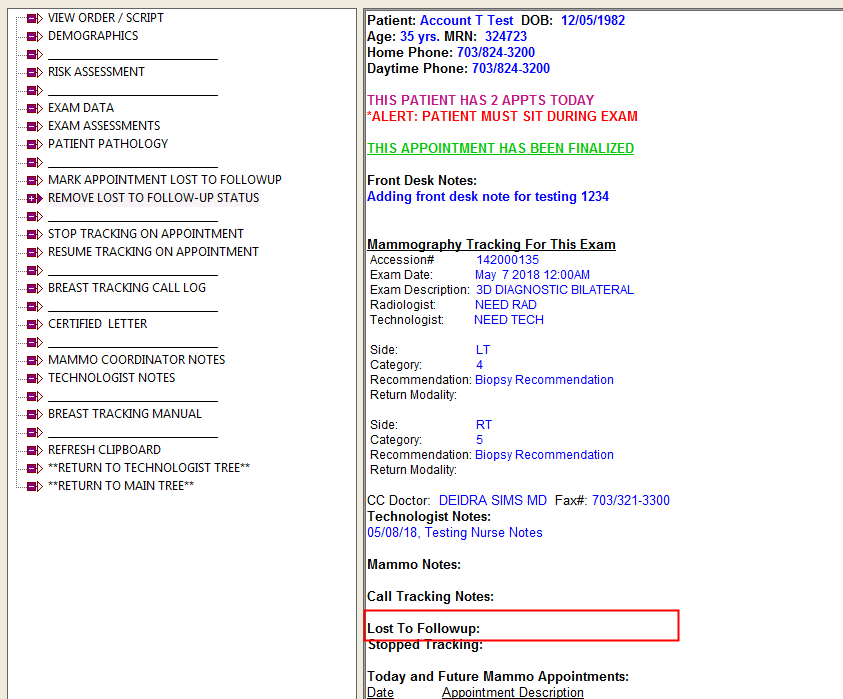
- Verify that the status has updated on the clipboard
Breast Tracking Controls
There may be instances where patient tracking will need stopped or restarted. The Breast Tracking tree allows a user to stop or restart tracking on demand, as well as allowing for phone call log to record all attempts to and contact with the patient.
Stopping Tracking on Appointments
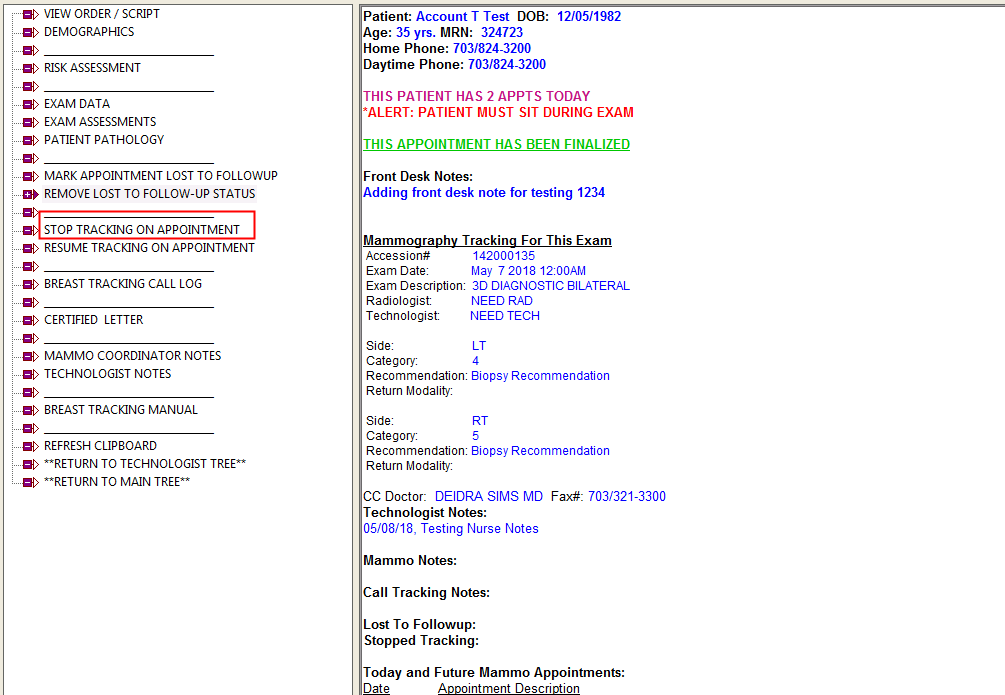
When the need comes to stop tracking on a particular patient (ex. patient leaves for another doctor) this branch allows a user to stop tracking on this patient. This will stop all orders and letters from going out.
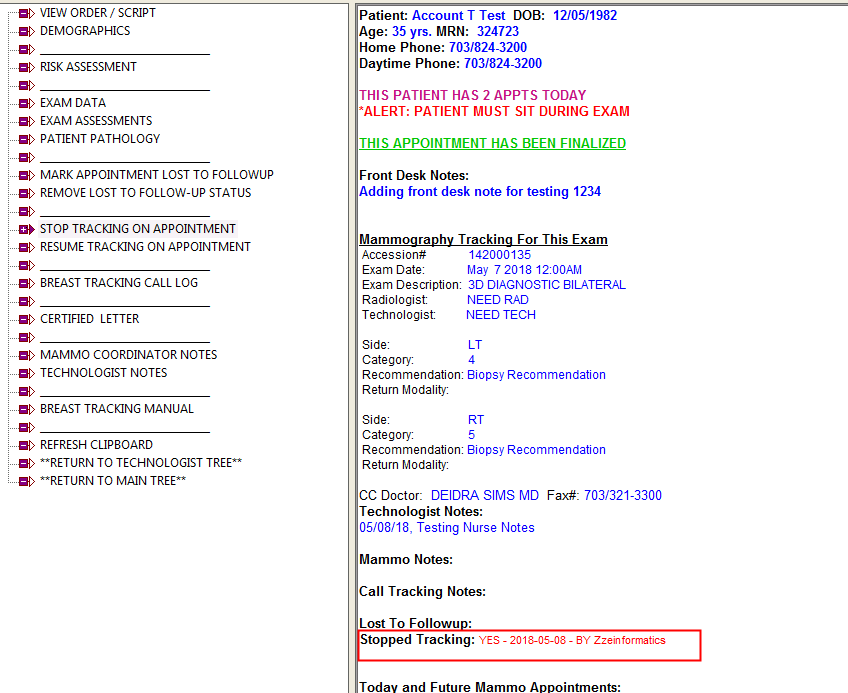
- Select Stop Tracking on Appointment
- Click OK
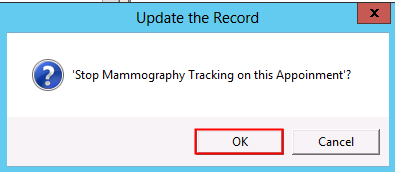
- Verify the clipboard updated
Resuming Tracking on Appointment
If the need arises to resume tracking on a patient (such as the patient returns to your care) then the Resume Tracking on Appointment branch on the breast tracking tree is used.
- Select Resume Tracking on Appointment
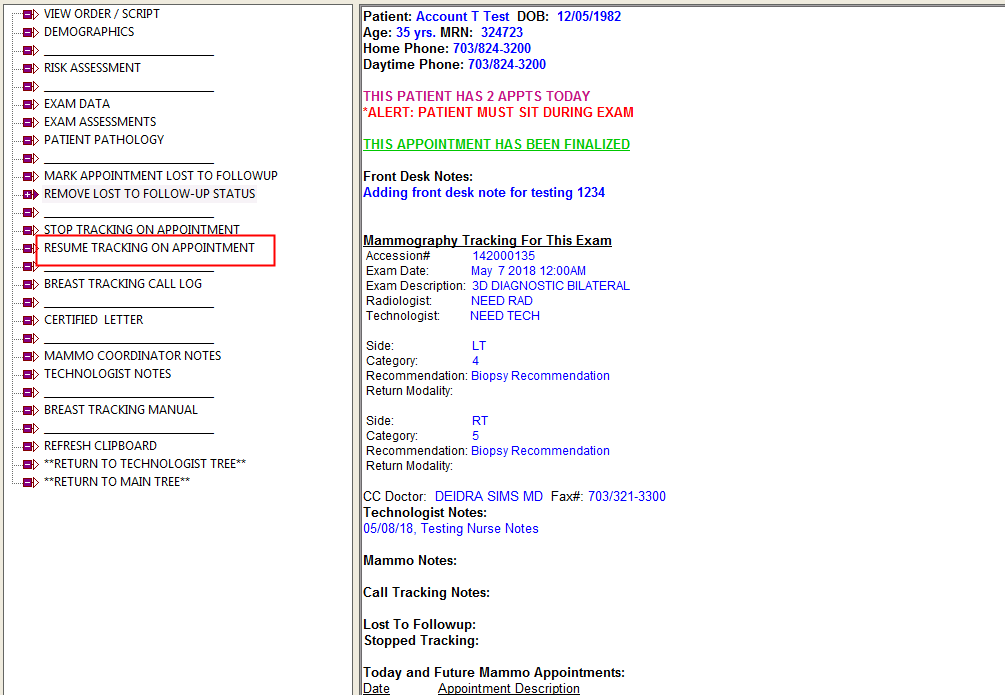
- Click OK
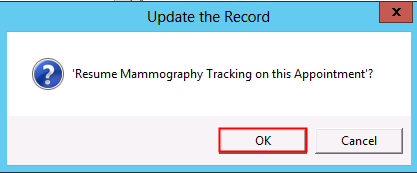
- Verify the clipboard updated

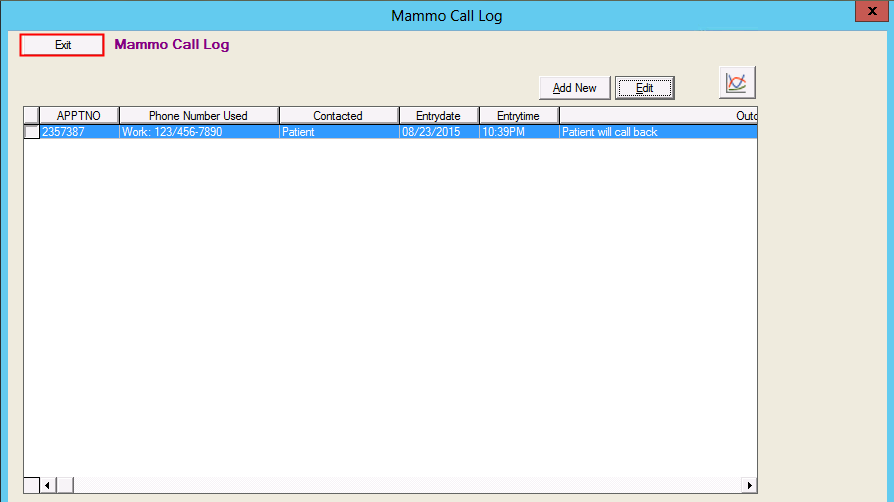
Breast Tracking Call Log
This branch in MedInformatix allows a user to keep a log of phone contact with the patient.
The information that can be recorded is:
- Follow up
- Referral Source
- Contact
- Phone Number Used
- Call Outcome
- Comments
- Final Result
The below steps walk through the process of recording calls and editing existing records.
Adding a Call Entry
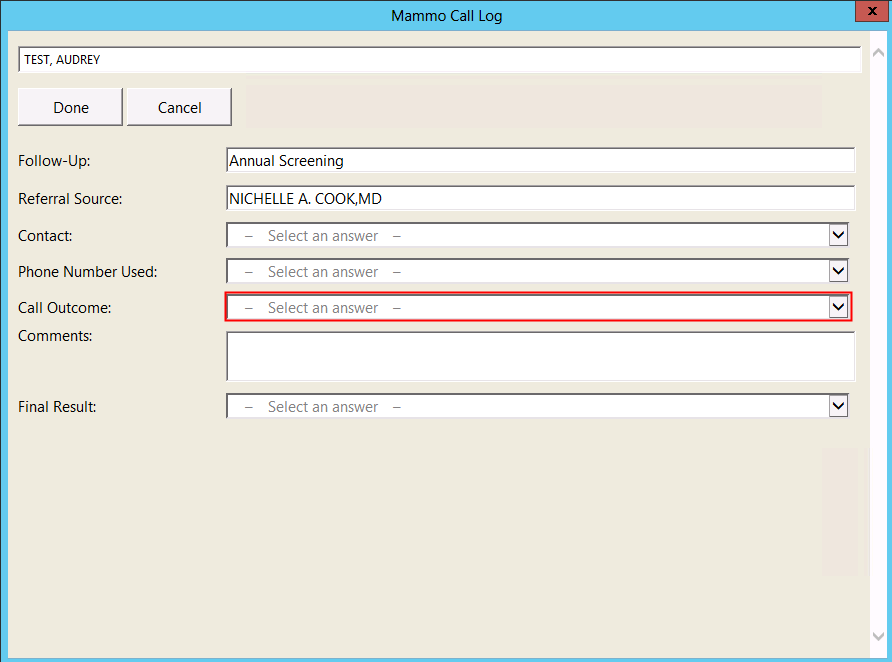
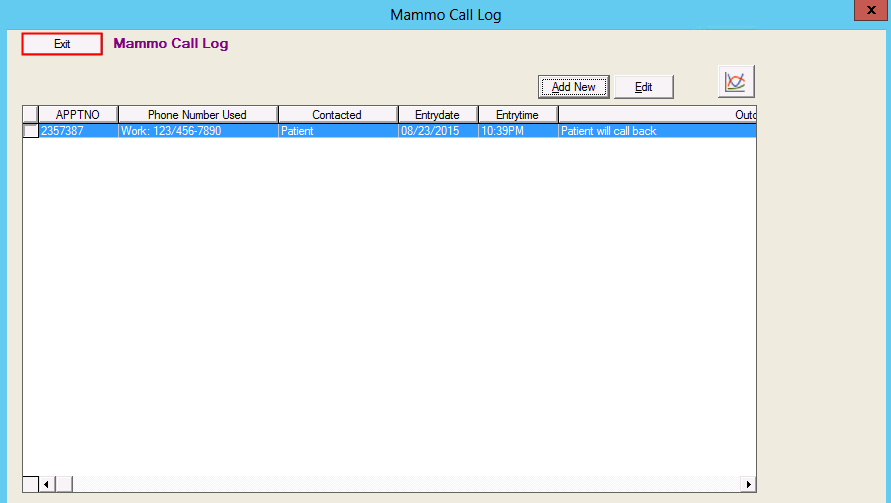
- Click on Breast Tracking Call Log
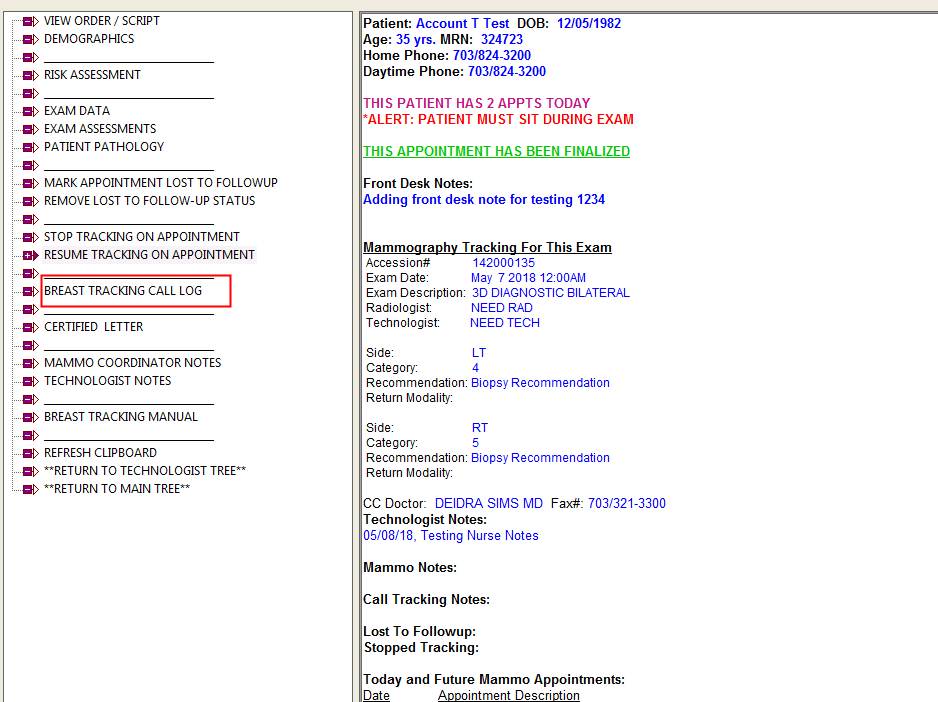
- Click Add New

- The Follow-Up and Referral Source will prepopulate based on the answers entered on the exam
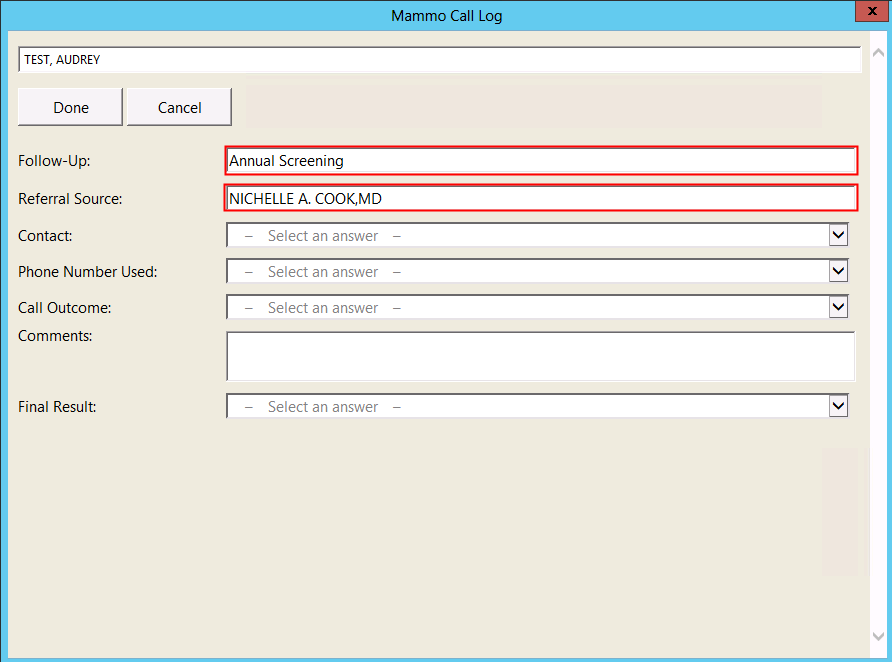
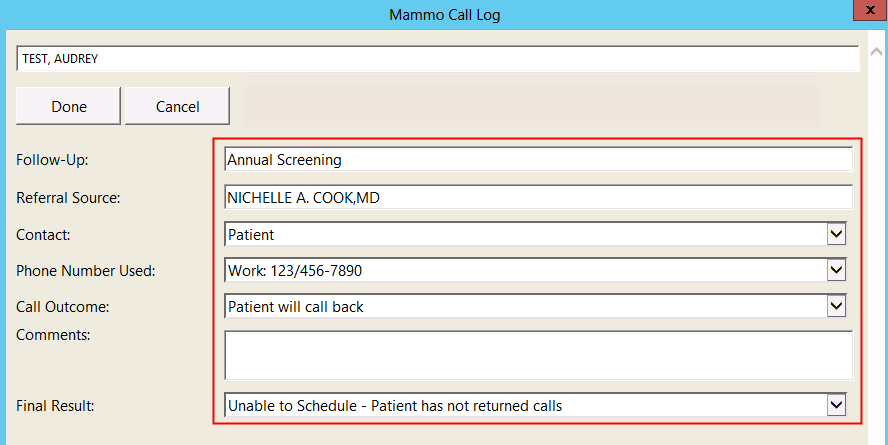
- Select an answer in the answer column next to Contact
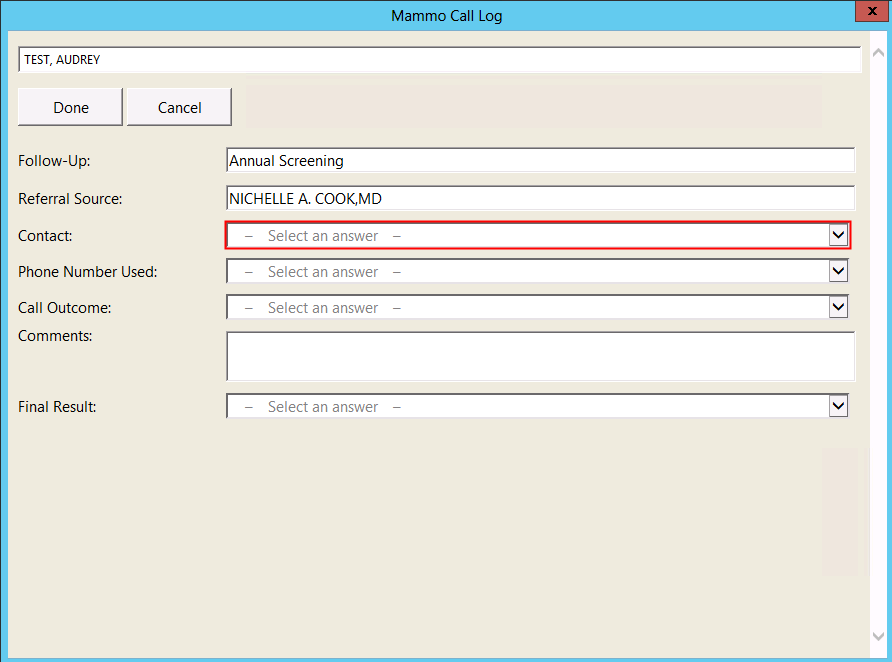
- Select an answer in the answer column next to Phone Number Used
- Select an answer in the answer column next to Call Outcome
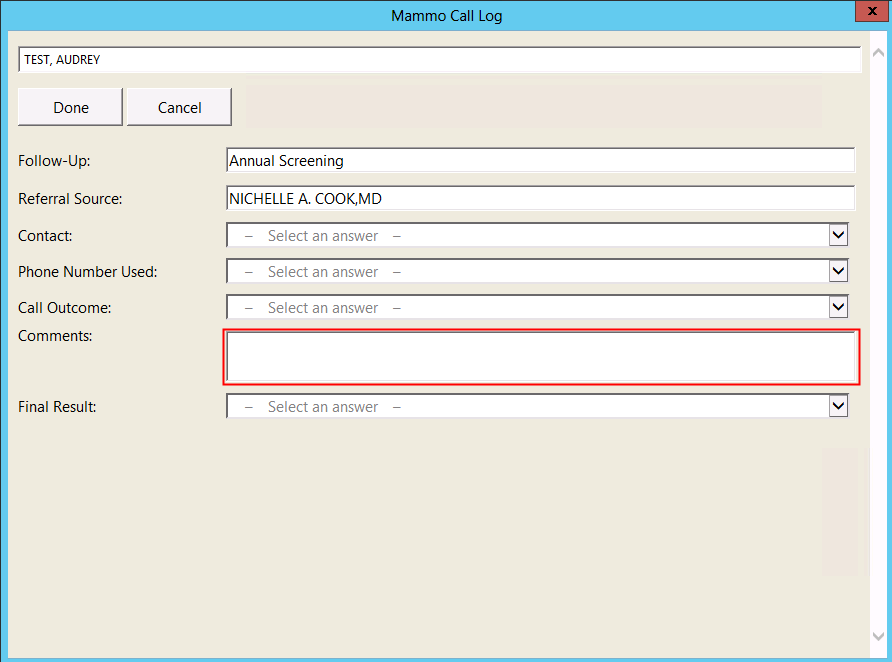
- (Optional) Add a note or comment in Comments field
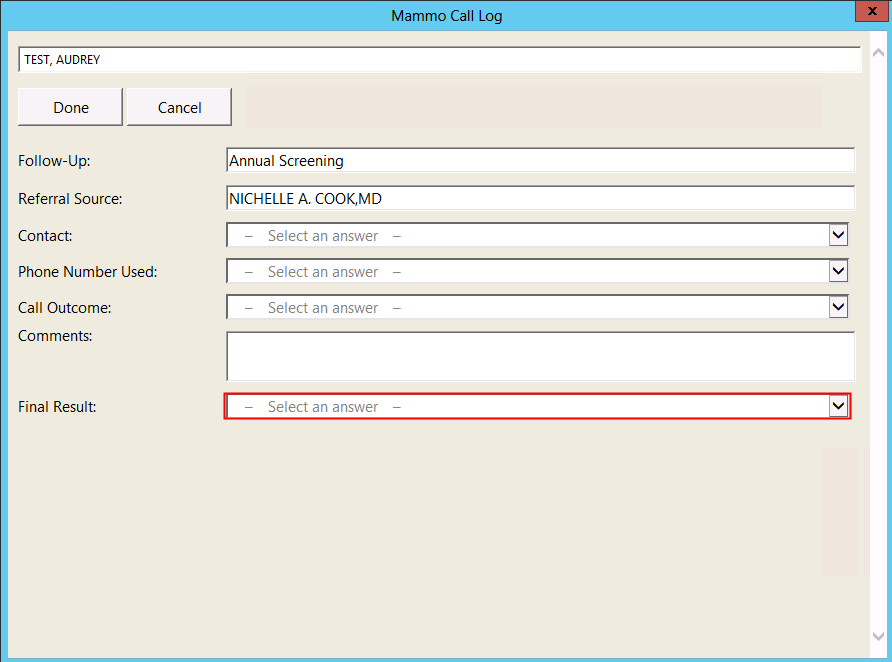
- Select an answer in the answer column next to Final Results after all calls have been made
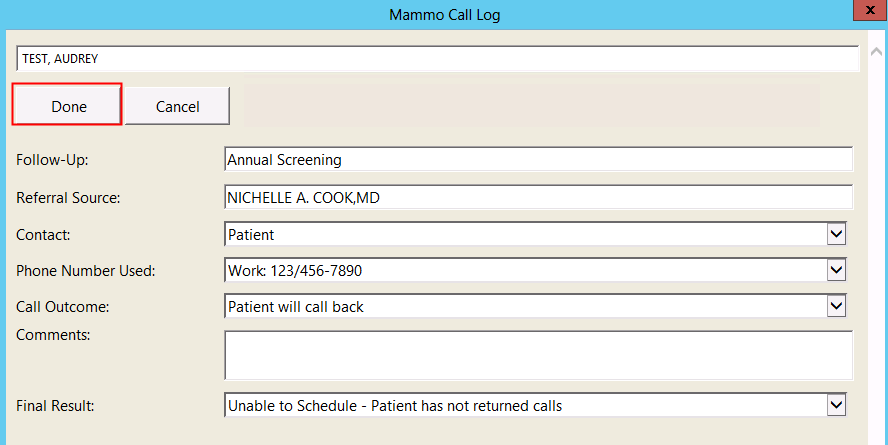
- Click Done
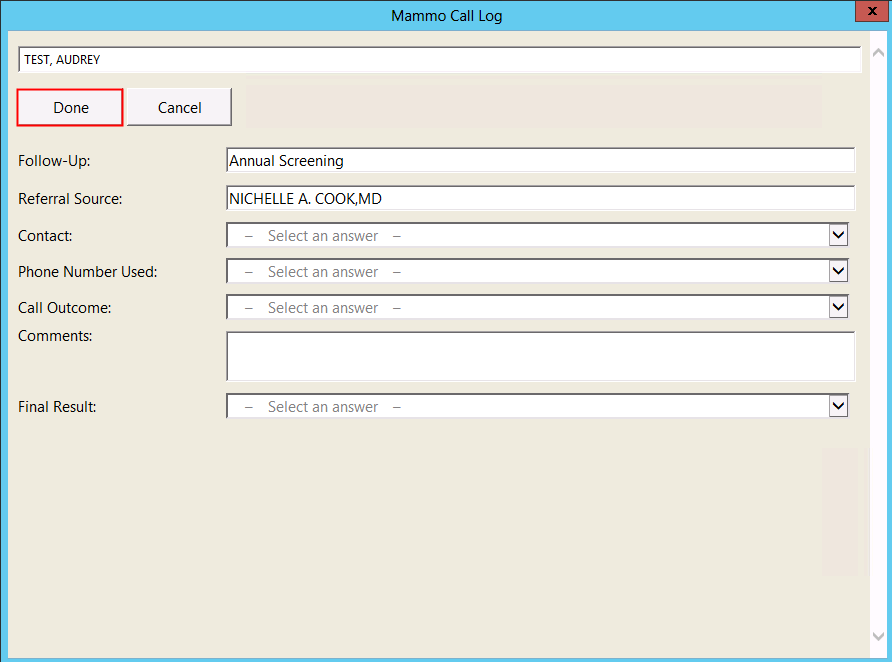
- Click Exit
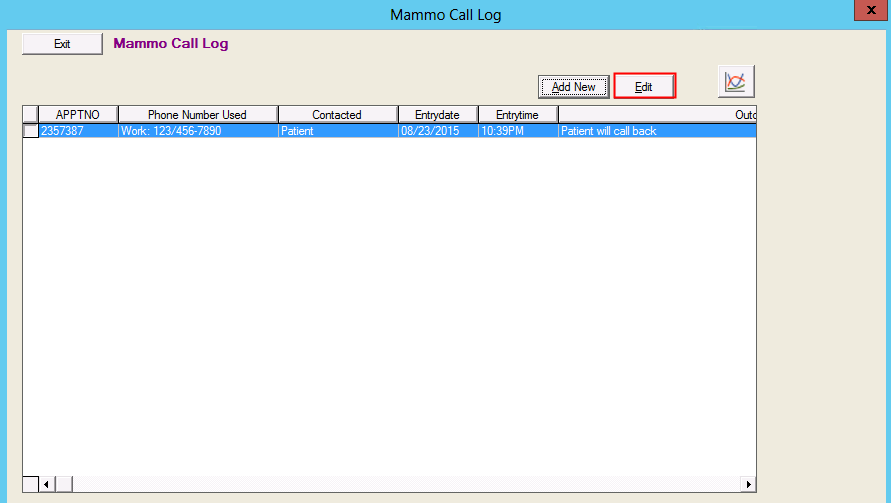
Editing a call entry
- Select the entry to edit and click Edit
- Click on the Answers column next to the field needing editing
- Once completed click Done
- Note: please see above section for more information on specific questions
- Note: please see above section for more information on specific questions
- Click Exit
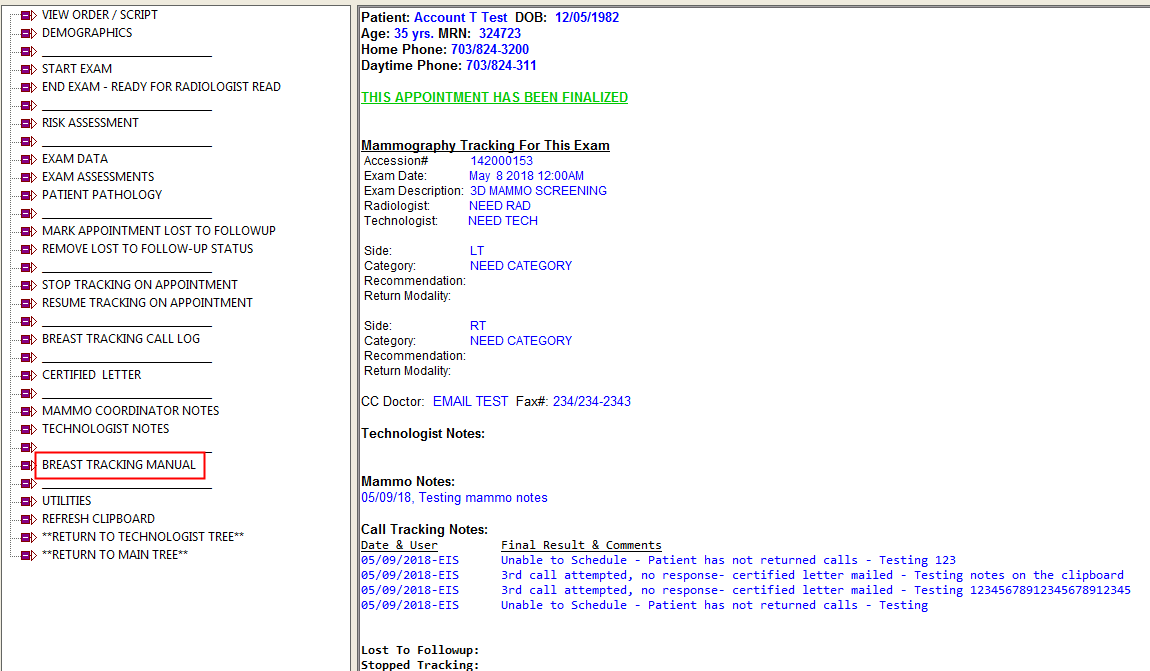
Breast Tracking Manual
This branch in the breast tracking tree will pull up this manual.
- Click on Breast Tracking Manual
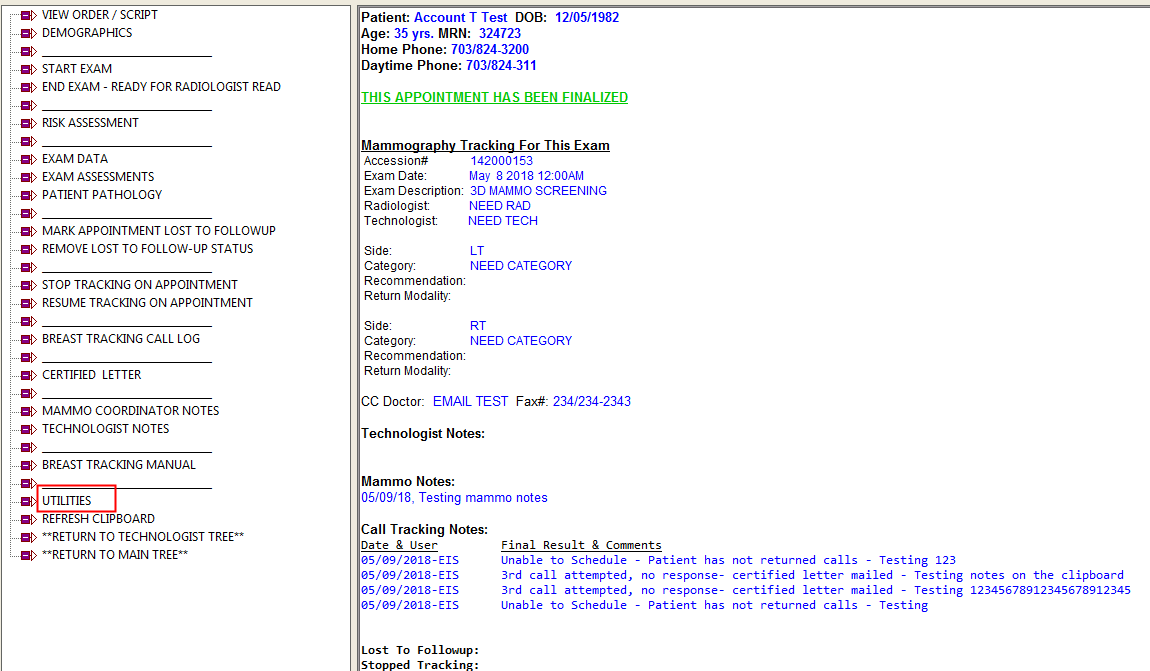
Utilities
The utilities branch is home to various tools and aids for the user when working with the Mammography Tracking Module.
- Select Utilities
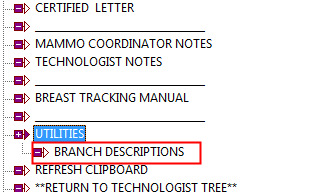
Branch Descriptions
The branch description tab will define each function of each branch in the Breast tree on the clipboard.
- Select Utilities
- Select Branch Descriptions and view descriptions on the clipboard
Orders
There are three different types of order departments in the Mammography Tracking Module. The order system is used to for daily workflow task as well as an audit system.
- MGERR: Mammography Error, when an exam with a signed report is missing information (Density, Category, Radiologist)
- MAMTR: Mammography Tracking, Recalls/Follow-Ups
- PATH: Pathology Tracking
Accessing the Orders/Tasks List
This section will walk through the steps it takes to get to the Orders List in MedInformatix.
- Select Tasks List from the Views menu
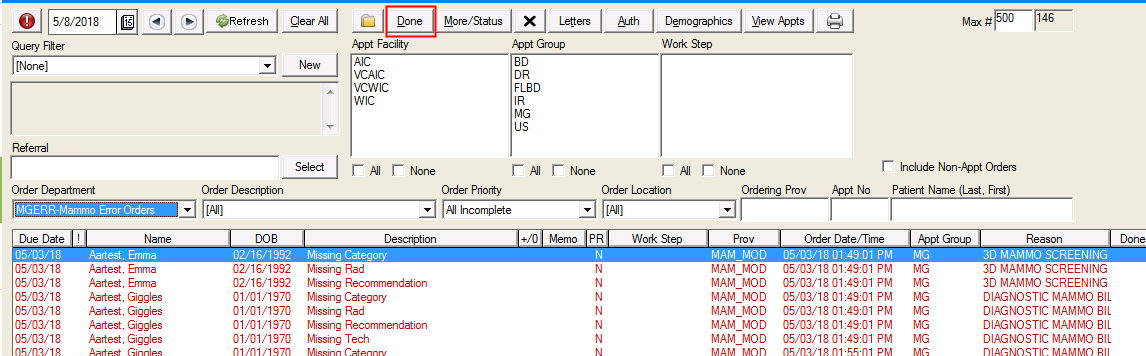
Marking the Order as Done
- Select the completed order and click Done
Reports
The customizable reporting portion of the Mammography Tracking Module allows auditing on various pieces of the information using the data entry section of the mammography module. The below reports will allow you to pass MQSA audits.
- Clinical Audit
- Exam Audit
- Exam Details
- Letter Audit
- Pathology Tracking
- Practice Summary
- Summary by Radiologists
- Technologist Productivity
Locating and Running a Report from the Reports List
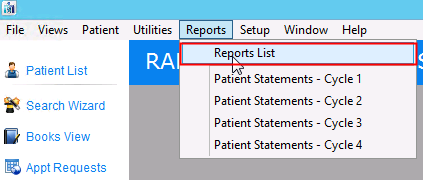
- Select Reports List from the Reports menu
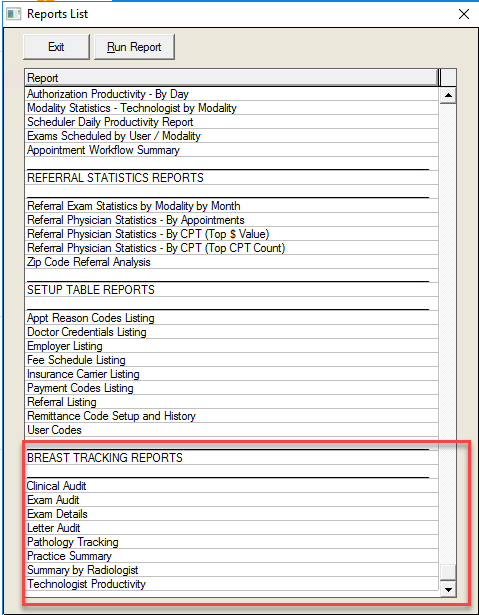
- Select the report you wish to run and click Run Report
Standard Mammography Reports
Sample reports used to pass Mammography Quality Standards Act (MQSA) audits.
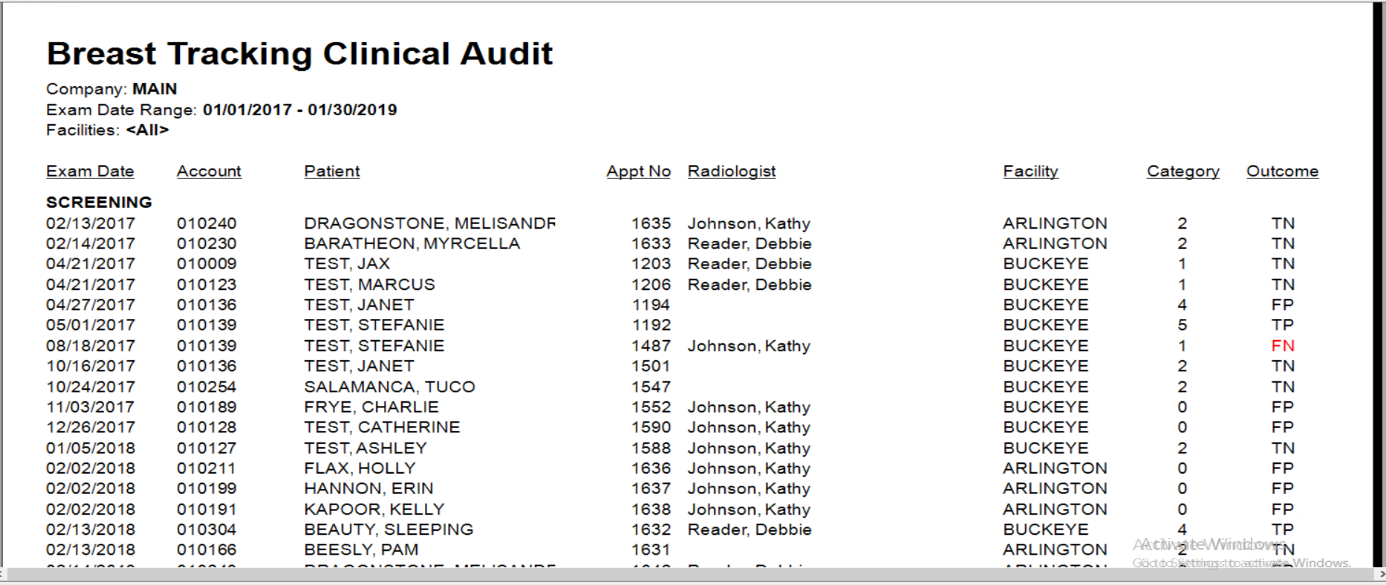
Clinical Audit
Use: This report gives the status of each exam given a category. The status is defined by true positive (TP), false positive (FP), true negative (TN) and false negative (FN).
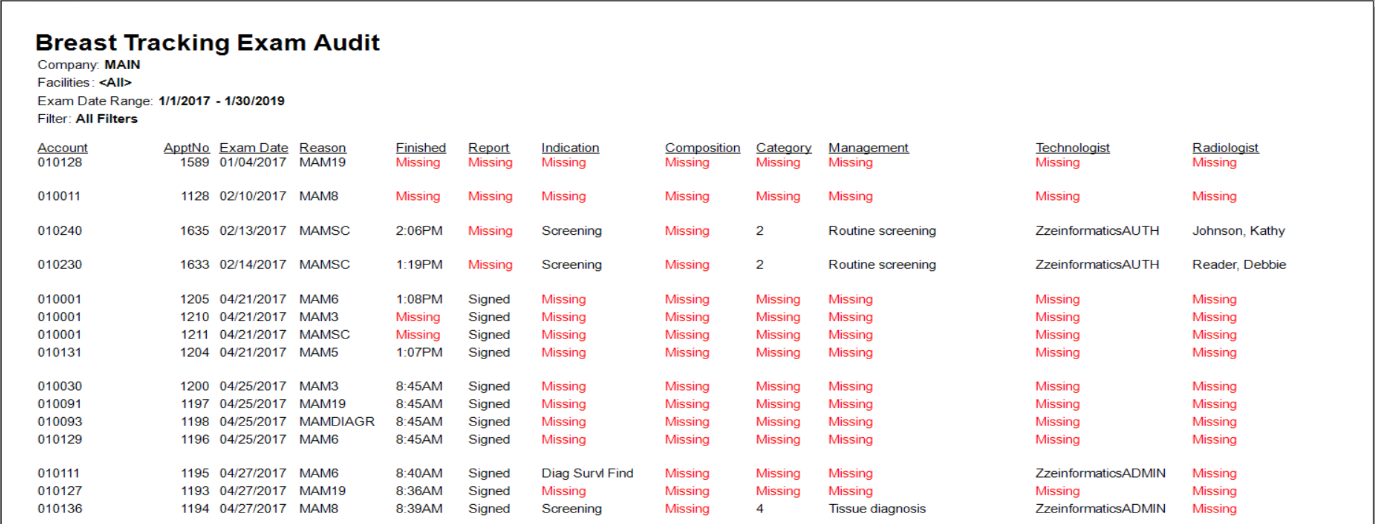
Exam Audit
Definition: This report is used as a checks and balances with our mammography errors list to show the status of our mammography exams.
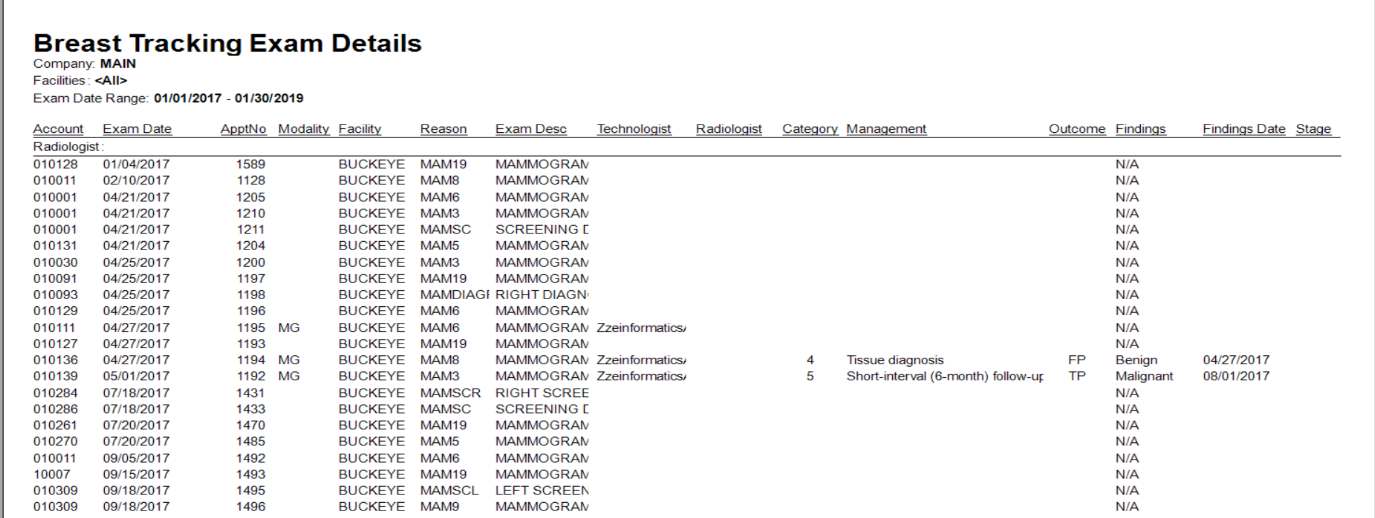
Exam Details
This report shows all completed cases by exam and category. It includes exams with all completed tracking information and a signed report.
Letter Audit
This report shows all scheduled and printed patient result and reminder letters.
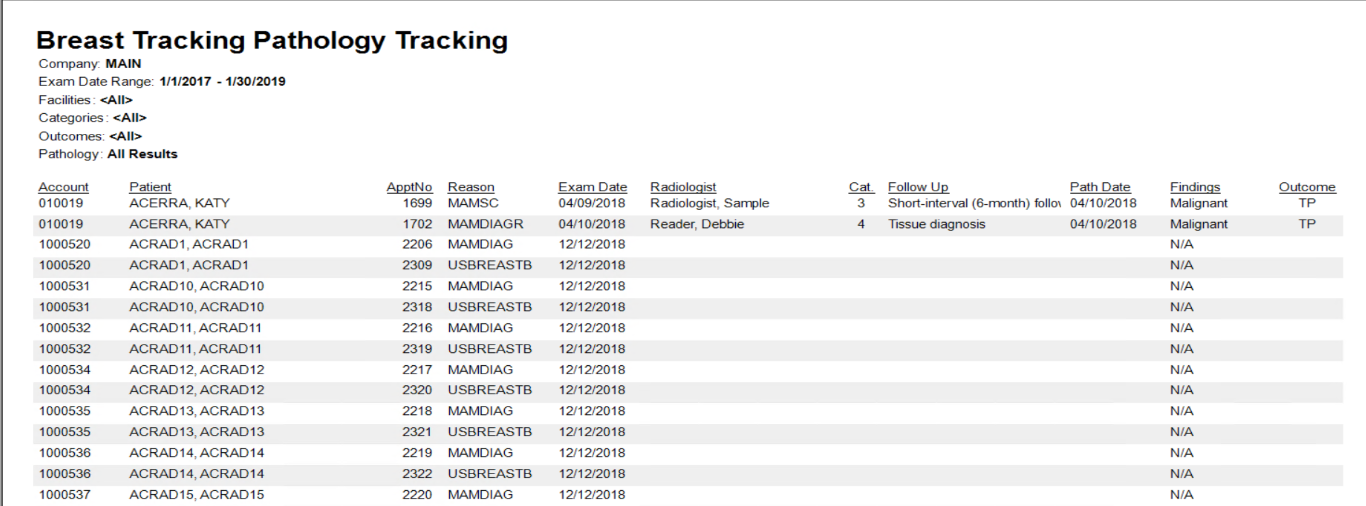
Pathology Tracking
This report shows all pathology results entered in the Patient Pathology screen.
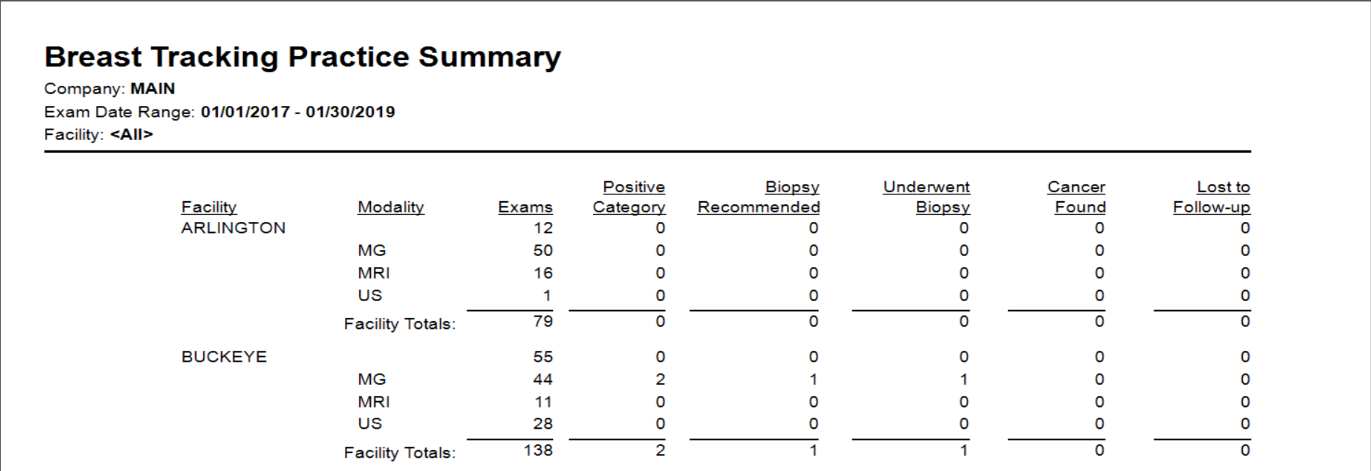
Practice Summary
Definition: This report shows all completed cases by exam type and positive outcomes for each radiologist/facility.
Use: Report will give a list of positive findings, biopsy recommendations, biopsies performed, if a cancer was found and those that we don’t know the final determination (Lost to Follow-Up).
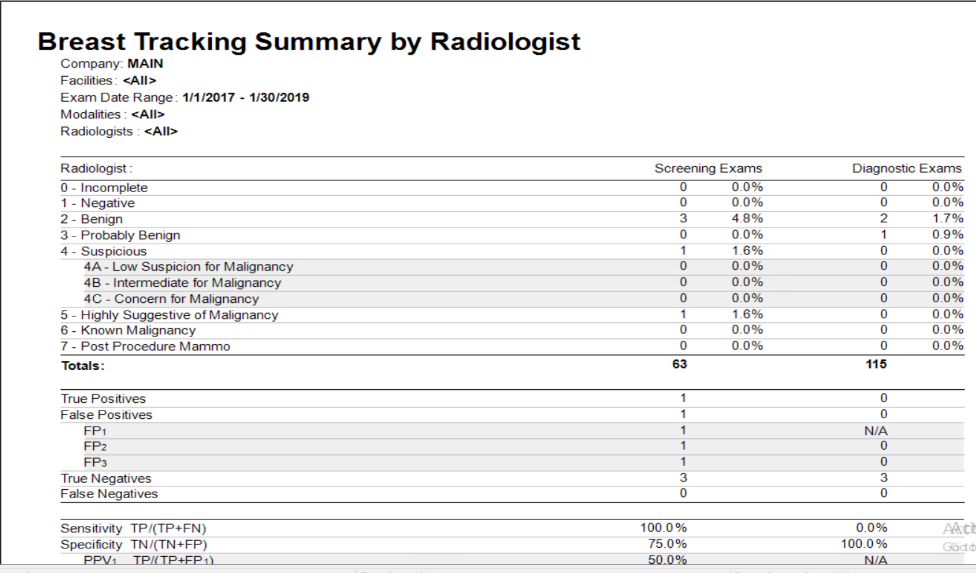
Mammography Summary by Radiologist
This report shows outcomes by percentage and count. Contains number based on a performance audit by radiologist.
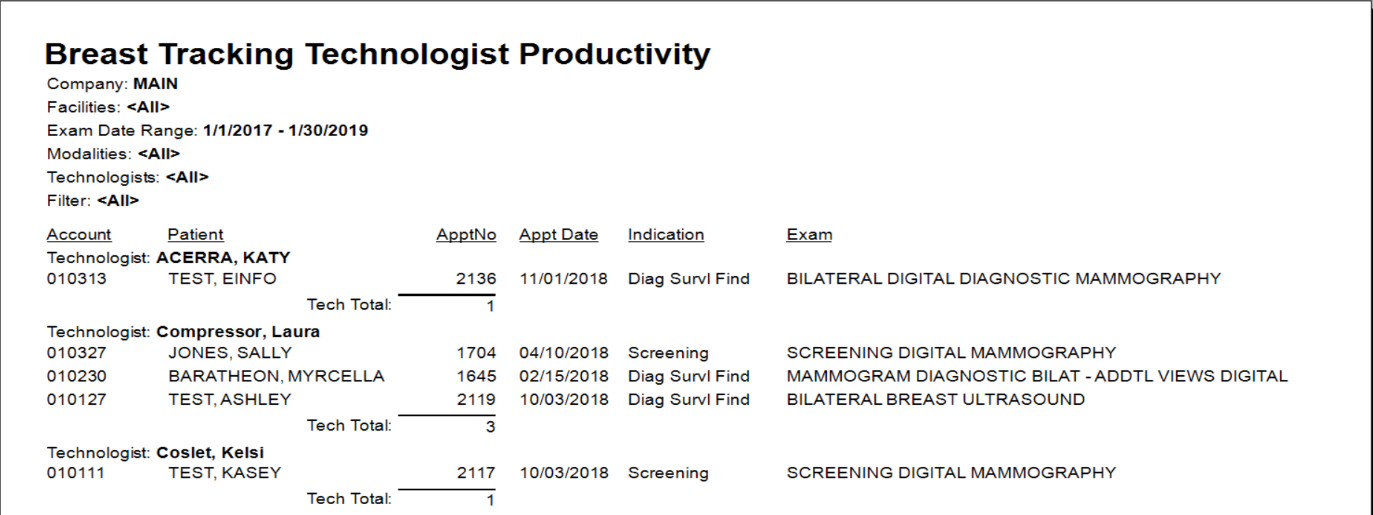
Technologist Productivity
This report shows all completed cases by exam and categories for each technologist. Shows technologist productivity.